Soothing Frankincense Lip Balm for Chapped and Sun-Damaged Lips
There's something profoundly satisfying about crafting your own lip care using ingredients that have been treasured for millennia. This frankincense lip balm DIY recipe combines the time-honored wisdom of ancient aromatherapy with modern understanding of natural skincare, creating a luxurious balm that may help promote smooth, comfortable lips.
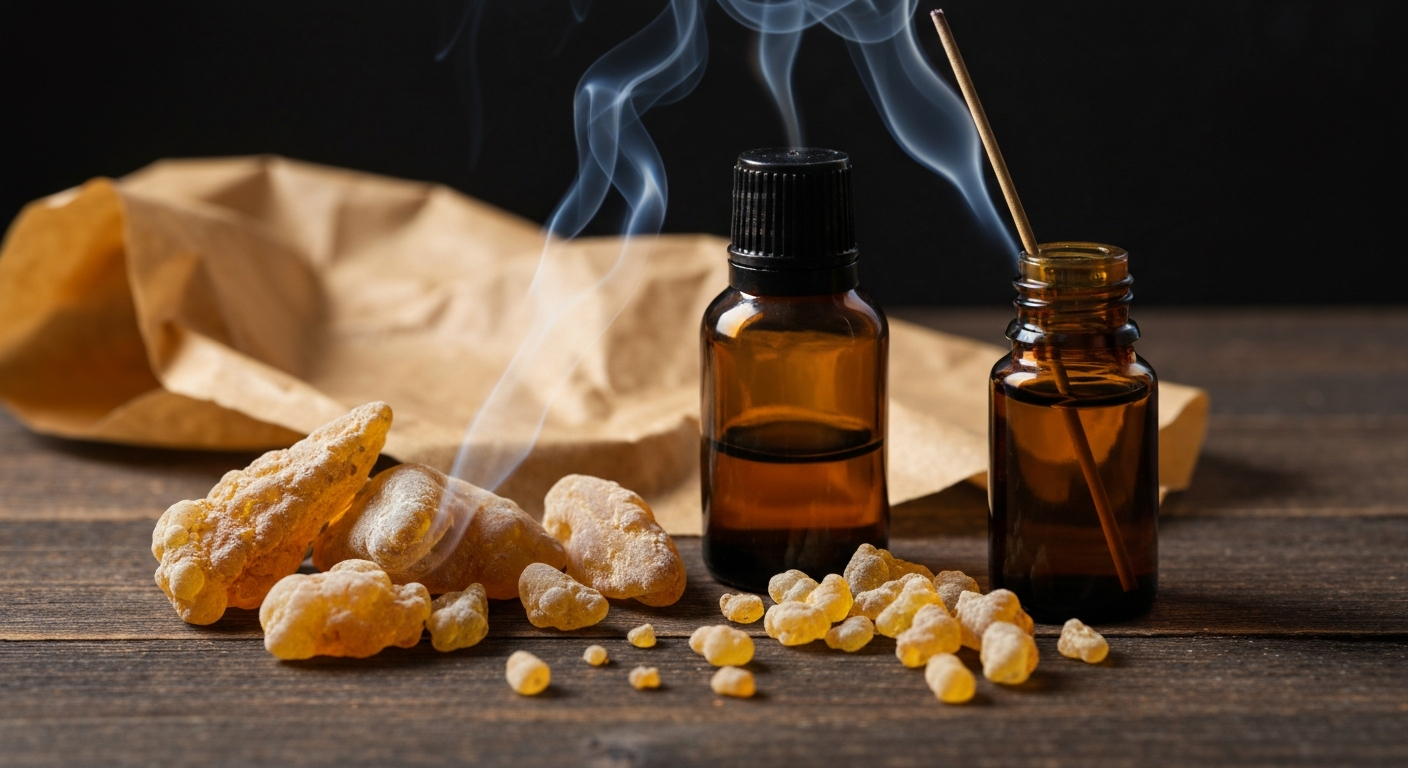
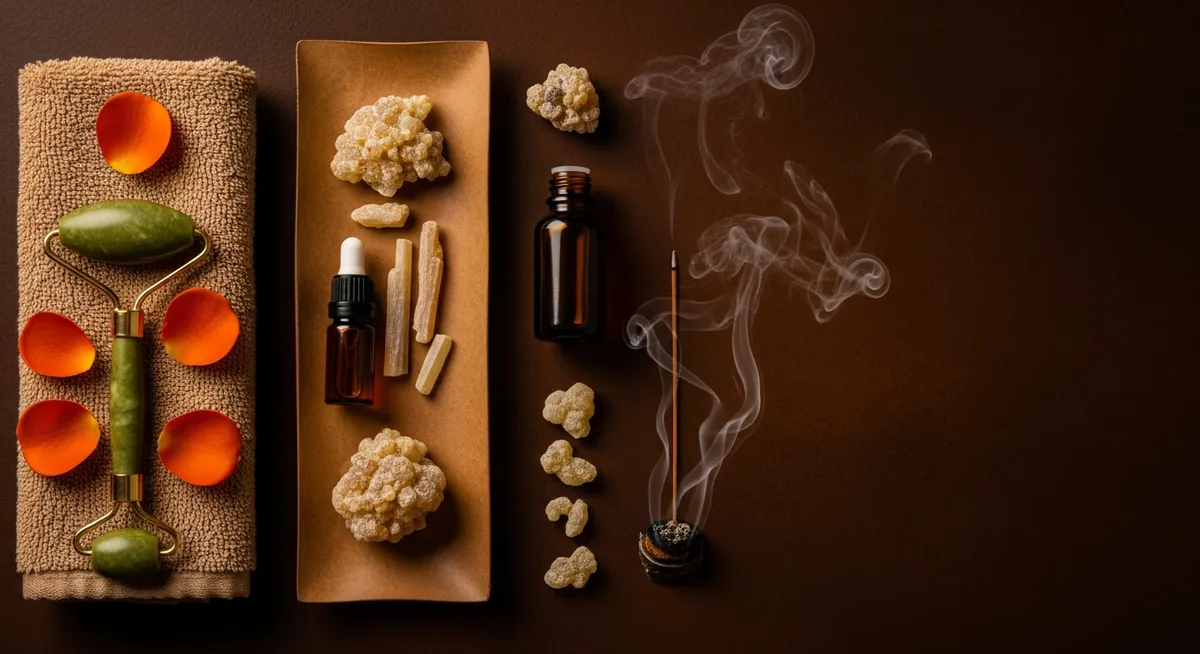
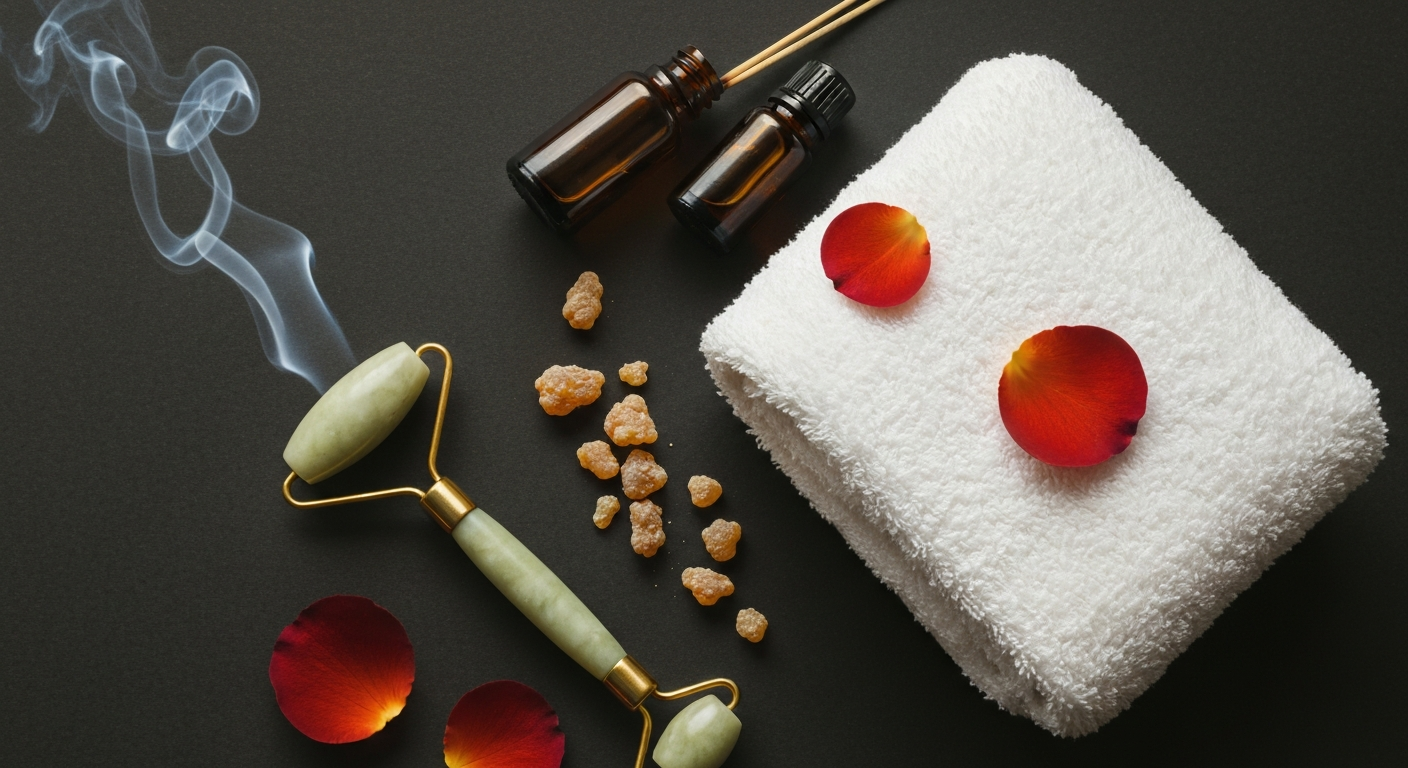
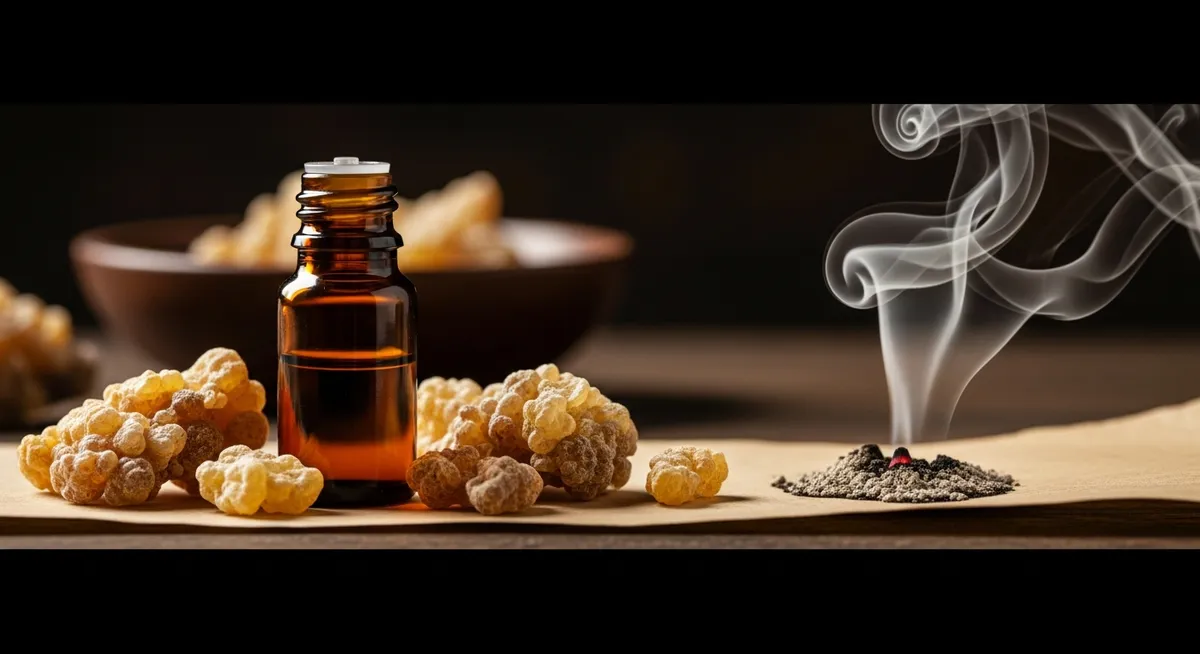
Frankincense essential oil, derived from the resin of Boswellia trees, has been traditionally used in skincare applications for over 5,000 years. While we make no medical claims, many people report that frankincense may support the appearance of healthy-looking skin when properly diluted and used topically.
Why Choose Homemade Lip Balm with Frankincense?
Creating your own homemade lip balm frankincense recipe offers several compelling advantages over commercial alternatives. You control every ingredient, ensuring quality and purity while avoiding synthetic additives, petroleum-based ingredients, or potential allergens that might be found in mass-produced products.
Frankincense essential oil is particularly prized in natural skincare applications due to its complex chemical profile, which includes boswellic acids, monoterpenes, and sesquiterpenes. Some research suggests these compounds may support the skin's natural renewal processes, though individual results vary.
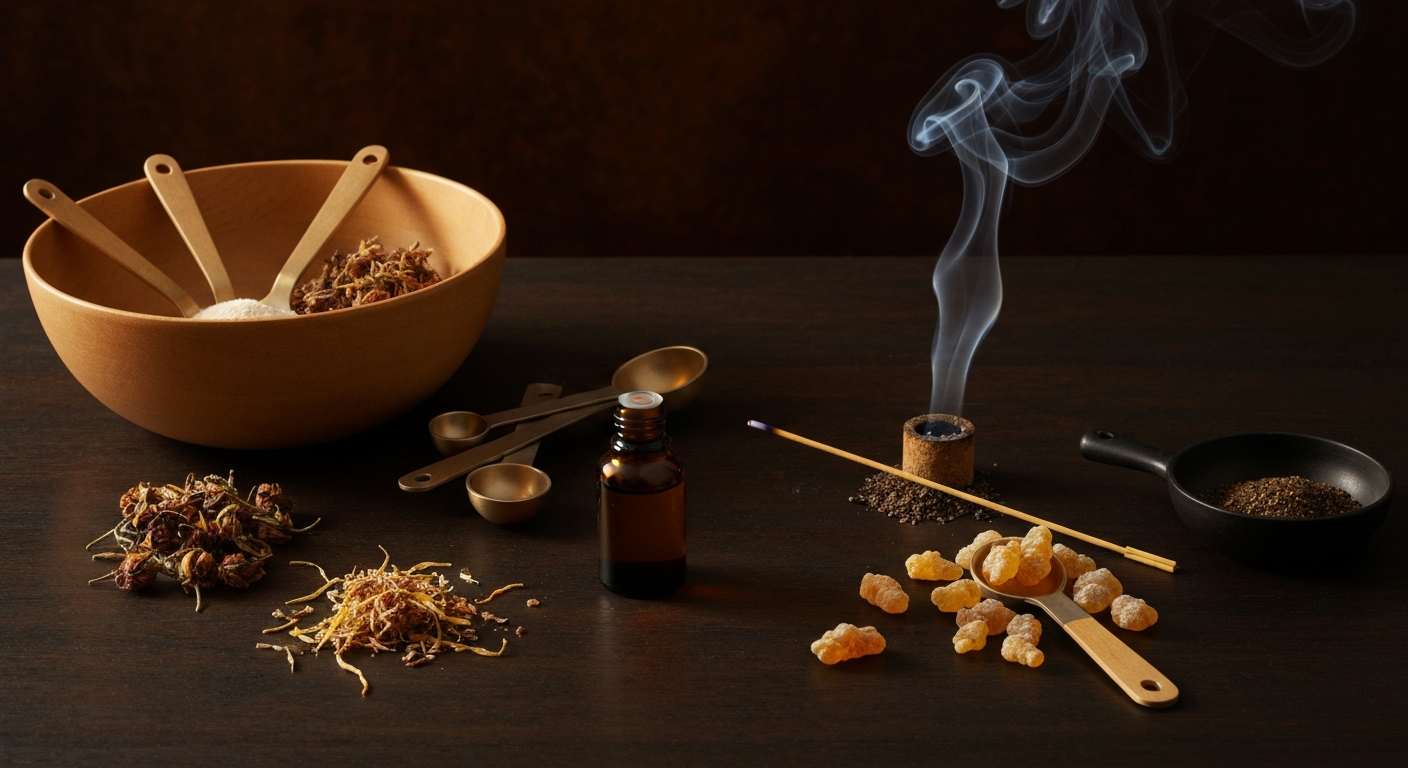
Essential Ingredients for Your Natural Lip Balm Recipe
This carefully formulated recipe creates approximately 12 standard lip balm tubes or 6 small tins:
Base Ingredients:
- Beeswax pellets: 2 tablespoons (provides structure and protection)
- Coconut oil (unrefined): 2 tablespoons (moisturizing and antimicrobial properties)
- Sweet almond oil: 1 tablespoon (lightweight, non-comedogenic carrier oil)
- Shea butter (unrefined): 1 tablespoon (rich in vitamins and deeply nourishing)
Essential Oil Blend:
- Frankincense essential oil: 8-10 drops (0.5% dilution rate)
- Lavender essential oil: 3-4 drops (optional, for additional soothing properties)
Optional Enhancements:
- Vitamin E oil: 1/4 teaspoon (natural preservative)
- Raw honey: 1/2 teaspoon (traditional humectant)
Important Safety Note: This recipe maintains a safe 0.5% dilution rate for essential oils, well within recommended topical application guidelines for lip products.
Step-by-Step Instructions

Difficulty Level: Beginner
Preparation Time: 20 minutes
Setting Time: 30 minutes
Equipment Needed:
- Double boiler or makeshift version (glass bowl over saucepan)
- Wooden stirring stick or glass rod
- Small funnel
- Lip balm tubes or small tins
- Labels for finished products
Instructions:
- Prepare your workspace: Sanitize all equipment with rubbing alcohol and arrange your containers for easy filling.
- Create the base: In your double boiler, gently melt the beeswax pellets over low heat. Stir occasionally until completely liquified.
- Add carrier oils: Once beeswax is melted, add coconut oil and sweet almond oil. For more information about selecting quality carrier oils, explore our guide to frankincense carrier oils.
- Incorporate shea butter: Add shea butter to the mixture, stirring until completely incorporated and smooth.
- Cool slightly: Remove from heat and let the mixture cool for 2-3 minutes. This prevents the essential oils from evaporating when added.
- Add essential oils: Carefully measure and add frankincense and lavender essential oils. Stir thoroughly to ensure even distribution.
- Optional additions: If using vitamin E oil or honey, incorporate them now with gentle stirring.
- Pour immediately: Working quickly but carefully, pour the mixture into your containers using a small funnel to minimize spills.
- Cool and set: Allow lip balms to cool completely at room temperature for 30 minutes before capping or moving.
Safety Warnings and Contraindications
Critical Safety Information:
- Patch test required: Before using any new topical product, perform a patch test on your inner wrist. Wait 24 hours and discontinue use if any irritation occurs.
- Pregnancy and nursing: Consult with a qualified healthcare provider before using essential oils during pregnancy or while breastfeeding.
- Children: This recipe is formulated for adults. Do not use on children under 6 years old.
- Allergies: Avoid if you have known allergies to any ingredients, particularly tree nuts (sweet almond oil) or bee products (beeswax).
- Sun sensitivity: Some essential oils may increase photosensitivity. Use sun protection when spending time outdoors.
- Medical conditions: If you have sensitive skin or existing lip conditions, consult a healthcare provider before use.
Storage Instructions and Shelf Life
Proper storage ensures your natural lip balm recipe maintains quality and safety:
- Storage location: Keep in a cool, dry place away from direct sunlight
- Temperature: Store below 75°F to prevent melting
- Container hygiene: Use clean, dry hands when applying to prevent contamination
- Shelf life: When stored properly, this lip balm maintains quality for 6-8 months
- Signs of deterioration: Discard if you notice changes in color, scent, or texture, or if any mold appears
Variations and Substitutions
Customize your frankincense lip balm with these thoughtful variations:
Carrier Oil Alternatives:
- Jojoba oil: Replace sweet almond oil for longer shelf life
- Fractionated coconut oil: Substitute for regular coconut oil for smoother application
- Sunflower oil: Nut-free alternative to sweet almond oil
Essential Oil Blends:
- Citrus variation: Add 2 drops sweet orange oil for uplifting scent
- Minty fresh: Include 1 drop peppermint oil for cooling sensation
- Floral blend: Increase lavender to 6 drops for enhanced floral notes
Texture Modifications:
- Softer balm: Reduce beeswax by 1/2 tablespoon
- Firmer balm: Add 1/2 tablespoon extra beeswax for hot climates
- Glossier finish: Add 1/2 teaspoon castor oil
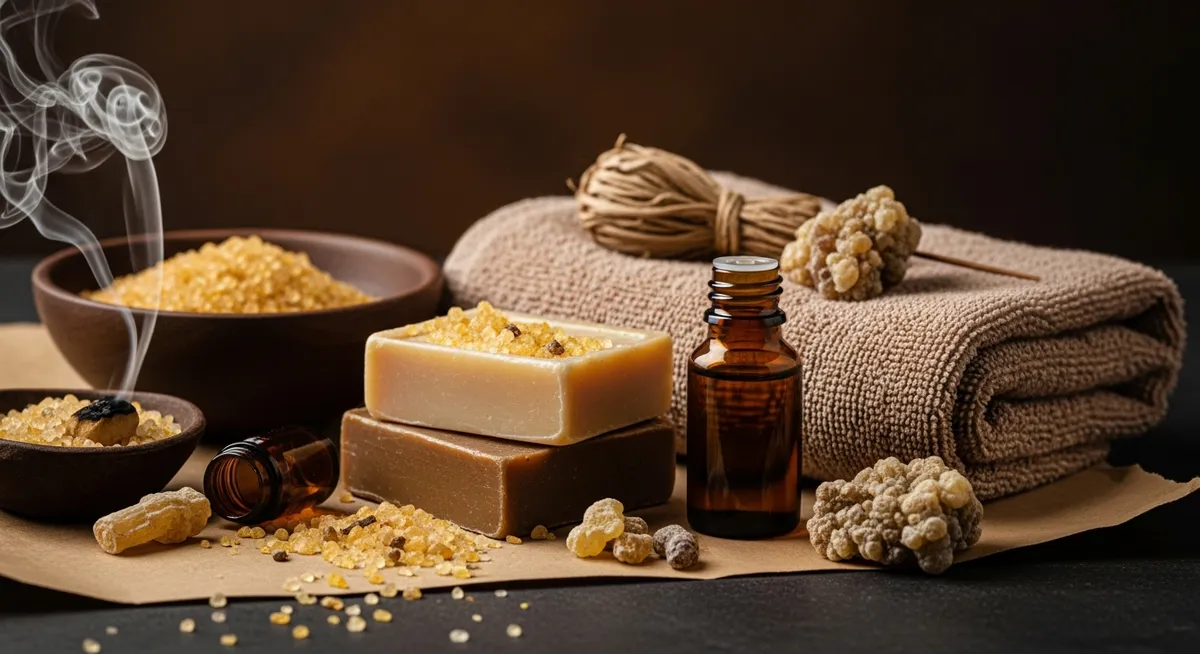
The Art of Natural Lip Care
Creating your own frankincense lip balm connects you to an ancient tradition of natural self-care while providing a luxurious, personalized product. This recipe represents just one approach to incorporating frankincense into your wellness routine—explore our collection of DIY frankincense recipes for more inspiration.
Remember that individual skin responses vary, and what works beautifully for one person may not be suitable for another. Start with small batches, document your results, and adjust the recipe to meet your specific preferences and needs.
Disclaimer: This recipe is for educational purposes only and is not intended to diagnose, treat, cure, or prevent any condition. Individual results may vary. Always consult with a qualified healthcare provider regarding any health concerns, especially if you have existing medical conditions or are taking medications.
Shop Frankincense Essential Oil
One small bottle goes a long way in lip balm — our 0.5 oz size is a perfect match for small-batch recipes.
Shop Frankincense Oil →