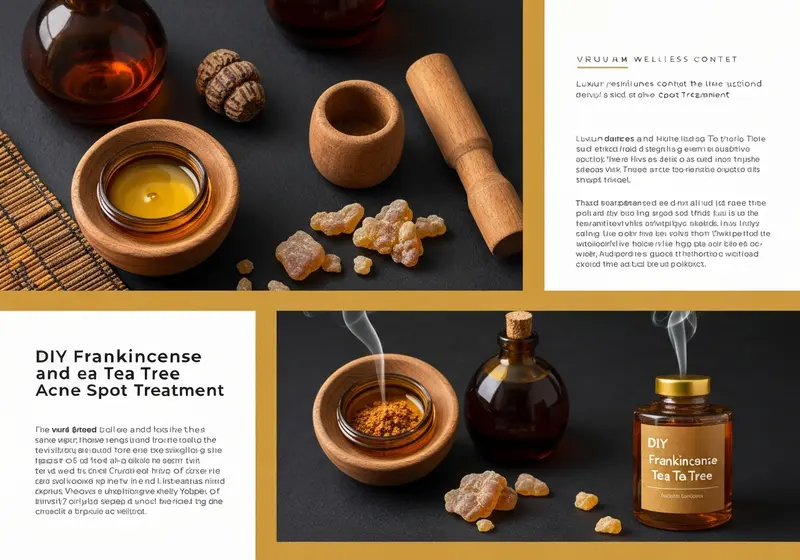
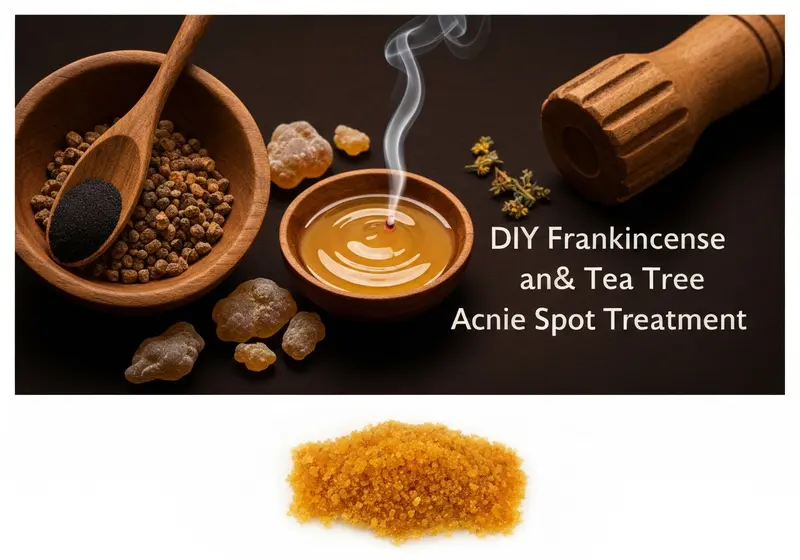
DIY Frankincense and Tea Tree Acne Spot Treatment
In the pursuit of natural skincare solutions, the ancient wisdom of frankincense meets the contemporary understanding of tea tree oil's properties. This DIY frankincense acne spot treatment combines two botanicals that have been traditionally valued in skincare routines across different cultures. While individual results may vary, many skincare enthusiasts appreciate the ritual of creating their own targeted spot treatments using carefully sourced essential oils.
This recipe creates a gentle, concentrated blend that may support your existing skincare routine. As with all DIY skincare preparations, proper dilution and safety considerations are paramount to ensure a pleasant experience.
Understanding the Ingredients
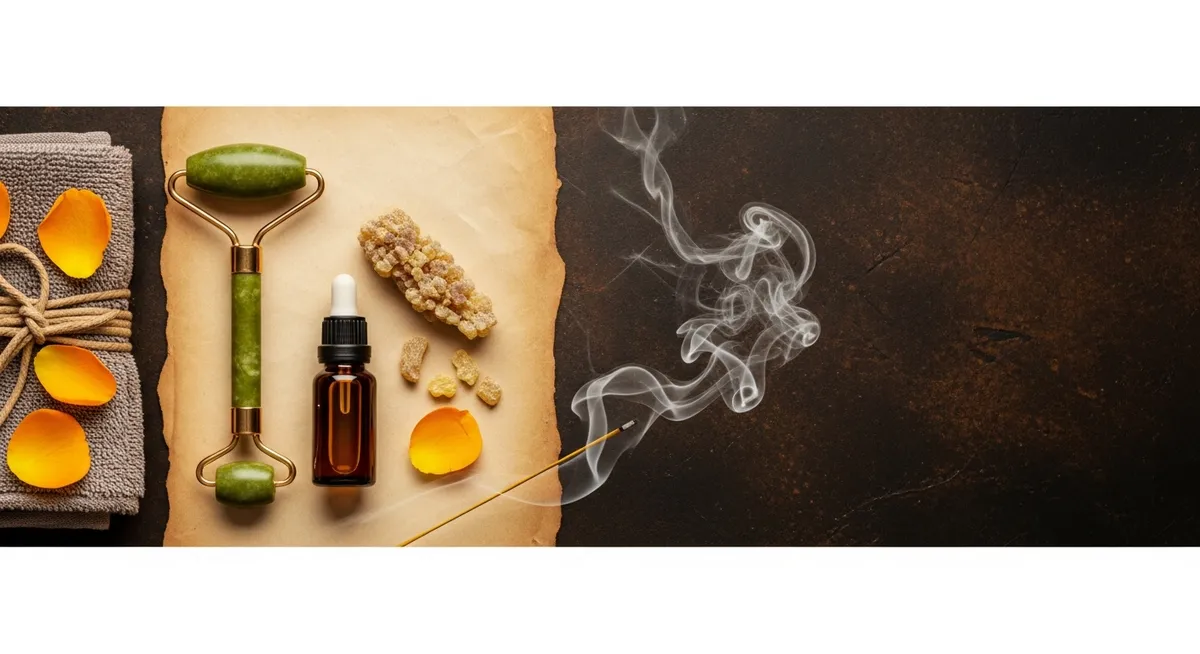
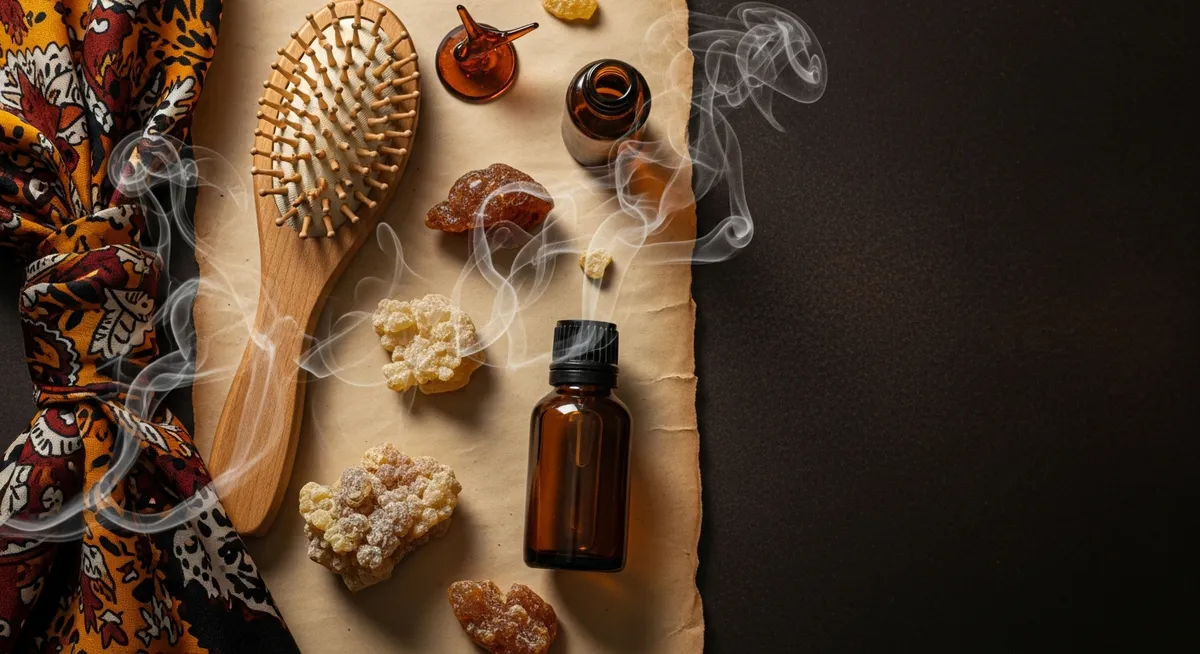
Frankincense essential oil, derived from the resin of Boswellia trees, has been treasured for millennia in various cultural traditions. Modern aromatherapy practices often incorporate frankincense for its sophisticated scent profile and historical significance in skincare applications.
Tea tree oil, extracted from the Australian Melaleuca alternifolia, has gained recognition in contemporary wellness circles. When comparing frankincense vs tea tree for skincare purposes, both oils bring unique characteristics to DIY formulations.
Together, these botanical extracts create a synergistic blend that many users find appealing for targeted spot treatments, though individual skin responses may differ significantly.
Recipe Overview
Difficulty Level: Beginner
Preparation Time: 10 minutes
Yield: Approximately 10ml (0.33 fl oz)
Shelf Life: 6-12 months when stored properly
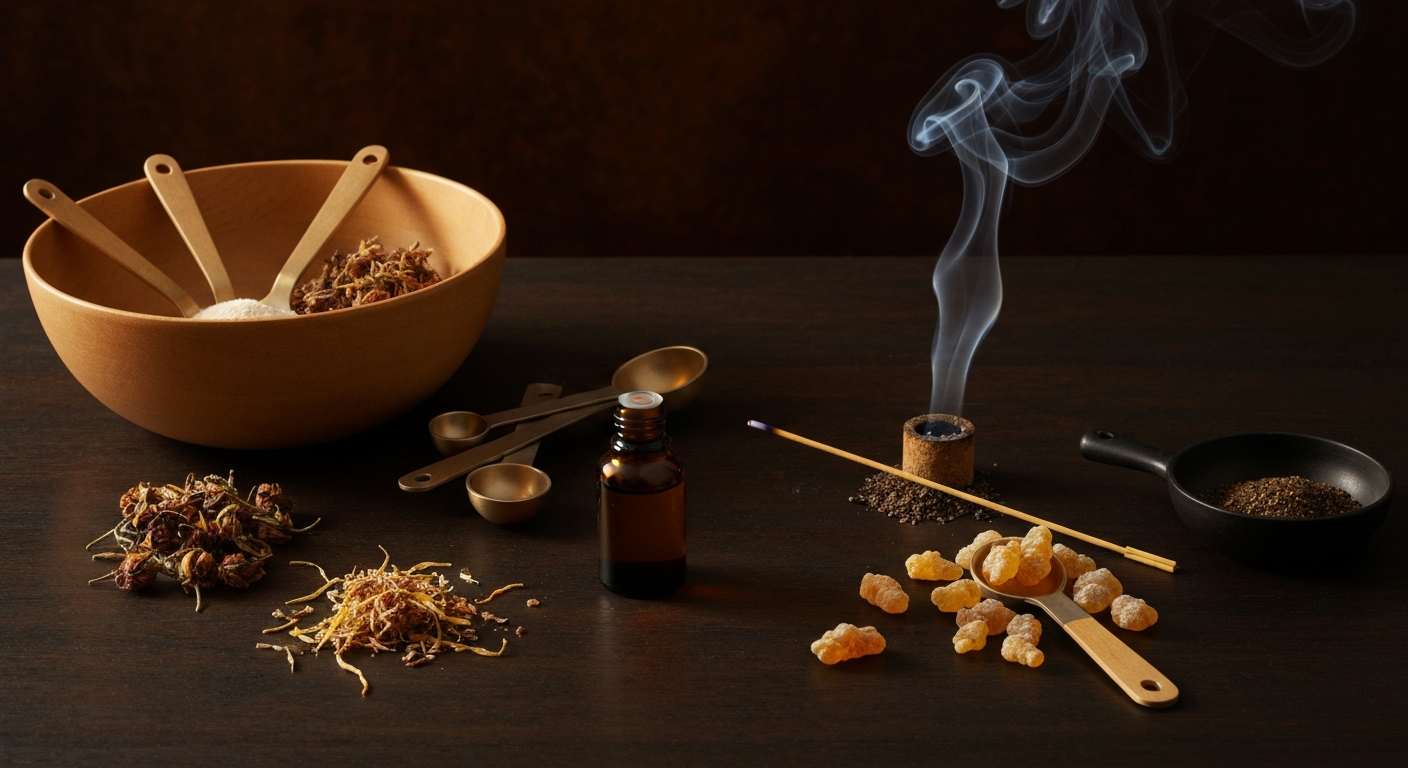
Complete Ingredients List
Essential Ingredients
- 8ml (approximately 160 drops) Jojoba oil or Fractionated coconut oil (carrier oil)
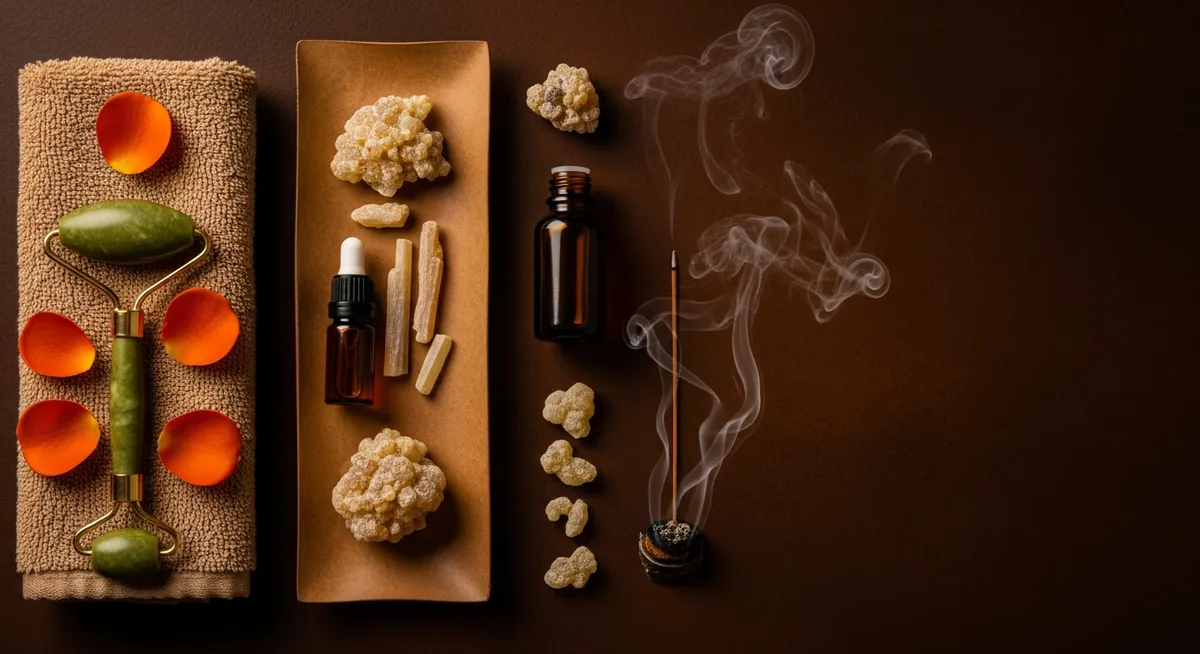
- 1ml (approximately 20 drops) Frankincense essential oil (Boswellia carterii or Boswellia sacra)
- 1ml (approximately 20 drops) Tea tree essential oil (Melaleuca alternifolia)
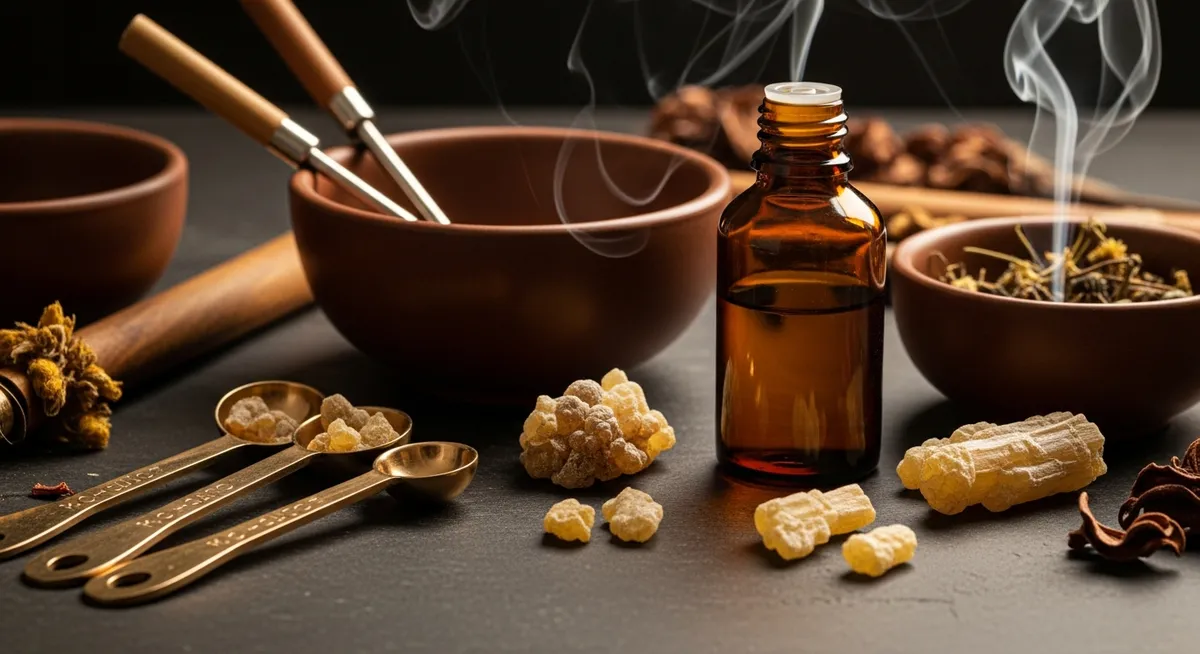
Equipment Needed
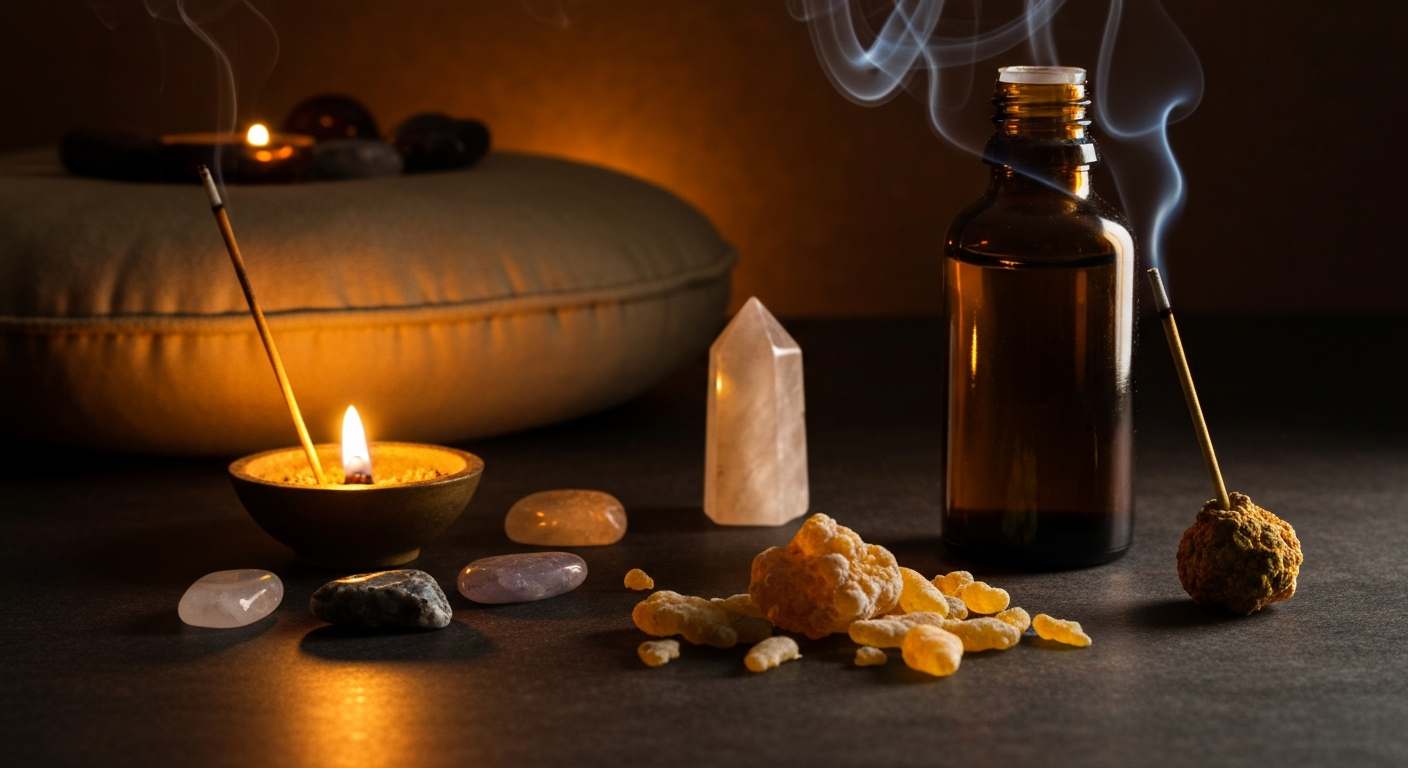
- 10ml amber or cobalt blue glass bottle with dropper cap
- Small glass mixing bowl
- Glass stirring rod or clean toothpick
- Measuring pipettes or syringes
- Labels for proper identification
- Funnel (optional, for easier transfer)
Step-by-Step Instructions
Step 1: Preparation and Sanitization
Thoroughly clean and dry all equipment using rubbing alcohol or boiling water. Ensure your work surface is clean and well-lit. Wash your hands thoroughly before beginning the blending process.
Step 2: Measure the Carrier Oil
Using a measuring pipette or syringe, carefully measure 8ml of your chosen carrier oil into the glass mixing bowl. Jojoba oil is technically a liquid wax and offers excellent stability, while fractionated coconut oil provides a lighter feel.
Step 3: Add Frankincense Essential Oil
Add exactly 20 drops (approximately 1ml) of high-quality frankincense essential oil to the carrier oil. Count each drop carefully to maintain proper dilution ratios.
Step 4: Incorporate Tea Tree Oil
Add 20 drops (approximately 1ml) of tea tree essential oil to the mixture. This creates a total dilution of approximately 10%, which is within safe ranges for spot treatment applications when used sparingly.
Step 5: Blend Thoroughly
Using a glass stirring rod or clean toothpick, gently stir the mixture in a figure-eight pattern for 30-60 seconds to ensure complete integration of all components.
Step 6: Transfer to Storage Container
Carefully pour or pipette the finished blend into your prepared amber glass bottle. (See: NIH — Boswellia Research.) If using a funnel, ensure it's completely clean and dry.
Step 7: Label and Date
Label your bottle with the contents, dilution percentage, and creation date. Include any relevant safety reminders.
Critical Safety Warnings and Considerations

Dilution Guidelines
IMPORTANT: This recipe creates a 10% total essential oil dilution, which is appropriate for spot treatment use only. Never apply undiluted essential oils directly to skin.
Patch Testing Protocol
Before first use, perform a patch test by applying a small amount to the inside of your wrist or behind your ear. Wait 24-48 hours to observe any reactions such as redness, itching, or irritation.
Contraindications and Precautions
- Pregnancy and nursing: Consult with a qualified healthcare provider before use
- Children under 12: Not recommended without professional guidance
- Sensitive skin: Consider reducing essential oil concentration to 5% total dilution
- Sun exposure: Tea tree oil may increase photosensitivity; use sunscreen when using this product
- Medication interactions: Consult your healthcare provider if using topical medications
Application Guidelines
Apply only to targeted areas using a clean cotton swab or fingertip. Use sparingly—a tiny amount is sufficient. Avoid contact with eyes, mucous membranes, and broken skin. Do not use more than twice daily.
Storage Instructions
Store your DIY frankincense tea tree acne spot treatment in a cool, dark location away from direct sunlight and heat sources. Amber or cobalt glass bottles help protect the oils from light degradation. Properly stored, this blend may maintain quality for 6-12 months, though carrier oil type affects longevity.
Always check for changes in scent, color, or consistency before use. If the blend develops an off odor or shows signs of oxidation, discontinue use and prepare a fresh batch.
Variations and Substitutions
Carrier Oil Alternatives
- Rosehip seed oil: Rich in vitamins, though shorter shelf life
- Grapeseed oil: Light texture, good for oily skin types
- Sweet almond oil: Gentle option for sensitive skin
- Argan oil: Luxurious choice with traditional skincare applications
Essential Oil Modifications
- Sensitive skin variation: Reduce total essential oil concentration to 5% (10 drops each oil)
- Lavender addition: Replace 5 drops of tea tree with lavender for a gentler approach
- Geranium variation: Substitute 5 drops of frankincense with geranium for floral notes
Incorporating into Your Skincare Routine
This spot treatment works well alongside other DIY preparations such as a frankincense toner as part of a comprehensive natural skincare approach. Apply the spot treatment after cleansing and toning but before heavier moisturizers or serums. Once a week, a frankincense facial steam for deep pore cleansing can help prepare the skin before targeted treatments.
Some users report positive experiences when incorporating this blend into their evening routines, allowing the oils to work while the skin undergoes its natural overnight renewal processes.
Final Considerations
Creating your own frankincense acne spot treatment allows for complete control over ingredient quality and concentration. While this DIY approach appeals to many natural skincare enthusiasts, individual responses to essential oils can vary significantly.
This preparation is intended for external use only and should complement, not replace, professional skincare advice. If you experience persistent skin concerns, consult with a qualified dermatologist or healthcare provider for personalized guidance.
The ritual of creating and using handcrafted skincare products connects us to traditional wellness practices while allowing for modern customization. Enjoy the process of discovering what works best for your unique skin needs through mindful experimentation and careful observation.
Shop Frankincense Essential Oil
DIY skincare works best with pure ingredients — start this recipe with a single-origin frankincense that has the GC/MS report to prove it.
Shop Frankincense Oil →