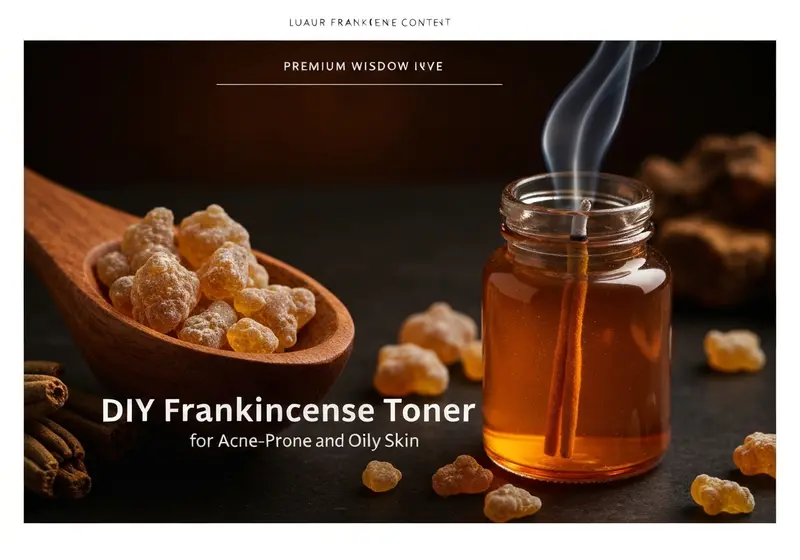
DIY Frankincense Toner for Acne-Prone and Oily Skin
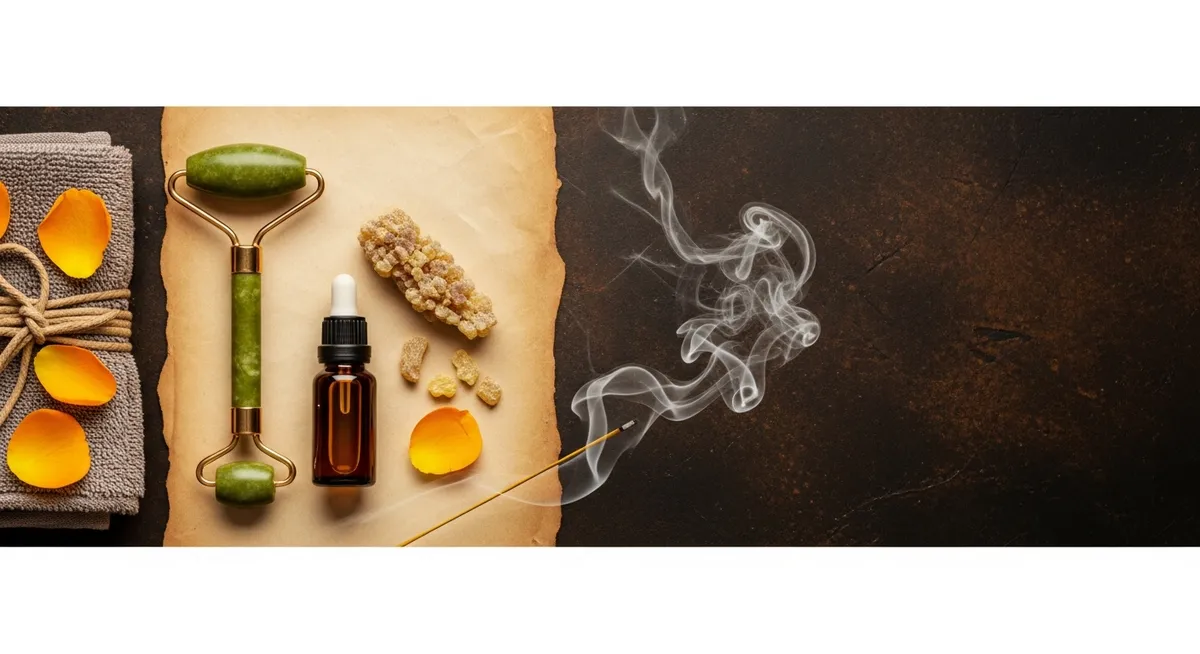
The ancient art of skincare meets modern DIY wisdom in this carefully crafted frankincense toner recipe. Revered for millennia in traditional beauty practices, frankincense essential oil has been treasured by cultures from ancient Egypt to medieval monasteries for its distinctive aromatic properties and time-honored role in skincare rituals.
This homemade frankincense toner offers those with acne-prone and oily skin a gentle, natural approach to their daily skincare routine. While individual results may vary, many people report that incorporating frankincense into their regimen helps create a sense of balance and promotes a more refined skin appearance.
Understanding Frankincense in Skincare
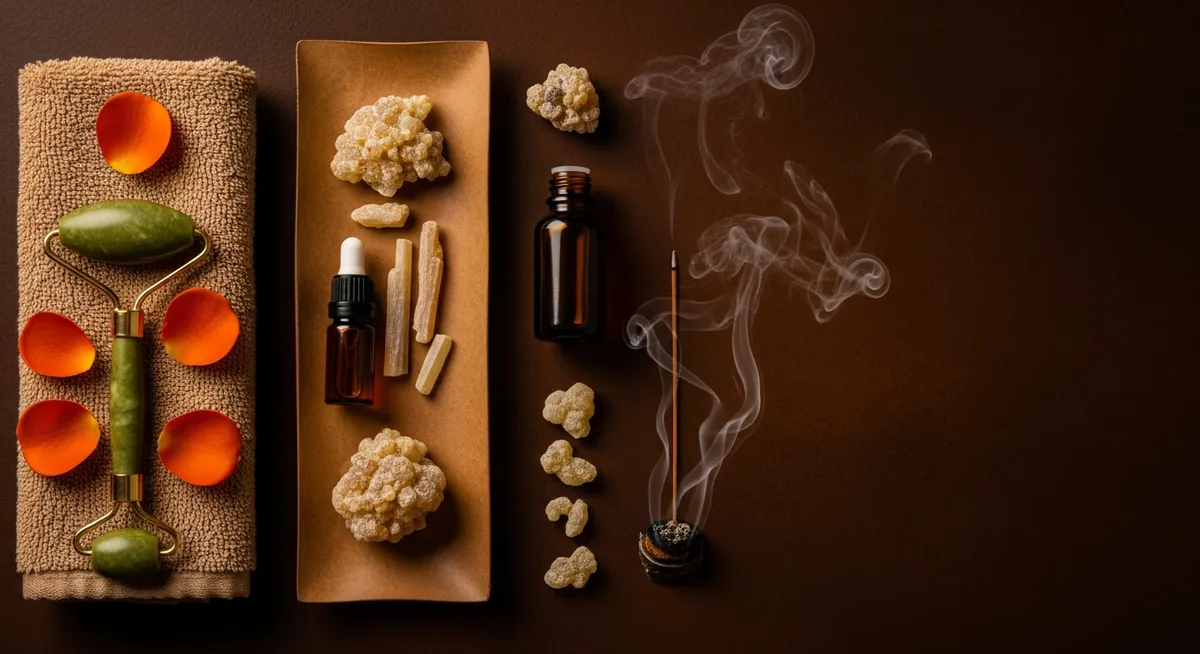
Frankincense essential oil, derived from the Boswellia tree's precious resin, has been traditionally used in skincare practices across various cultures. Some research suggests that frankincense contains compounds that may support skin's natural processes, though it's important to note that individual experiences can differ significantly.
For those exploring natural skincare options, frankincense is often appreciated for its subtle, sophisticated scent and its traditional role in promoting a sense of skin comfort. When properly diluted and used as part of a comprehensive frankincense skincare routine, many users report positive experiences with this ancient botanical.
Recipe Overview
Difficulty Level: Beginner
Prep Time: 10 minutes
Total Time: 15 minutes (including settling time)
Yield: Approximately 4 oz (120ml)
Shelf Life: 2-3 months when stored properly
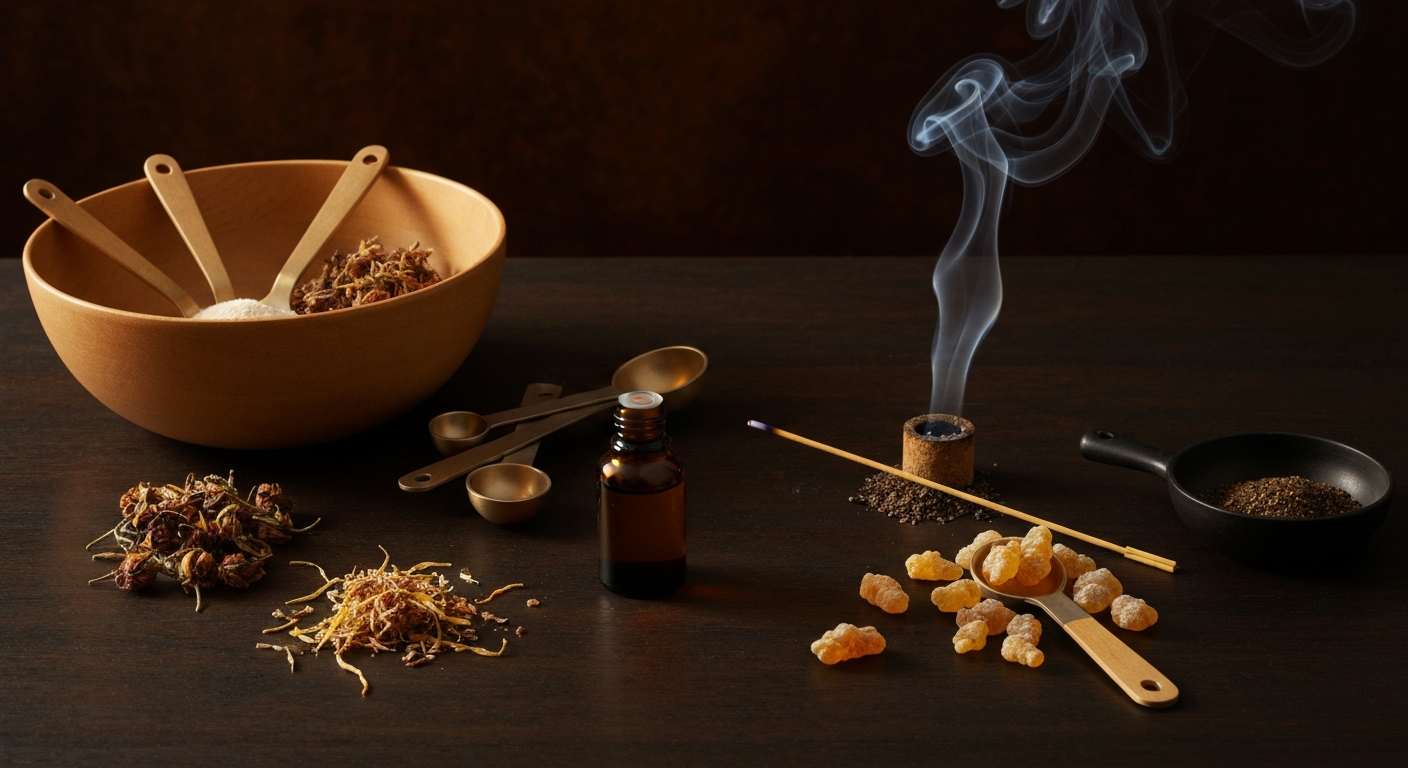
Complete Ingredients List
This recipe has been carefully formulated to ensure proper dilution ratios for safe topical use:
Essential Ingredients
- 4 oz (120ml) distilled water
- 2 tablespoons witch hazel (alcohol-free preferred)
- 4-6 drops frankincense essential oil (Boswellia carterii or Boswellia sacra)
- 1 tablespoon rose water (optional, for added gentleness)
- 1/4 teaspoon vegetable glycerin
Equipment Needed
- 4 oz dark glass bottle with spray top or regular cap
- Small glass measuring cup
- Glass stirring rod or clean spoon
- Funnel (optional but recommended)
- Labels for dating and identification
Step-by-Step Instructions
Step 1: Prepare Your Workspace
Ensure all surfaces and tools are clean and sanitized. Work in a well-ventilated area away from direct sunlight. Have your dark glass bottle ready—this protects the essential oil from light degradation.
Step 2: Combine Base Ingredients
In your measuring cup, combine the distilled water, witch hazel, and rose water (if using). The witch hazel acts as a natural astringent that may help support skin's appearance, while rose water provides additional gentleness.
Step 3: Add Glycerin
Stir in the vegetable glycerin thoroughly. This ingredient may help maintain skin's moisture balance, which is particularly important for those who experience both oily and dry areas.
Step 4: Incorporate Frankincense
Add the frankincense essential oil drop by drop, stirring gently after each addition. This careful approach ensures proper distribution throughout the mixture. The dilution ratio in this recipe (approximately 0.2%) falls well within recommended safety parameters for facial use.
Step 5: Transfer and Store
Using a funnel, carefully transfer the mixture to your dark glass bottle. Secure the cap tightly and label with the date and contents.
Step 6: Allow to Settle
Let the toner settle for 5-10 minutes before first use. This allows the ingredients to fully integrate.
Critical Safety Warnings and Guidelines
IMPORTANT: Always perform a patch test before using any new skincare product. (See: NIH — Boswellia Research.) Apply a small amount to the inside of your wrist or behind your ear and wait 24 hours to check for any adverse reactions.
Dilution Ratio Guidelines
This recipe maintains a safe dilution ratio of approximately 0.2% essential oil content, which is appropriate for facial use. For more detailed information about safe practices, consult our comprehensive frankincense dilution guide.
Contraindications and Precautions
- Pregnant or nursing women should consult their healthcare provider before use
- Those with sensitive skin should start with half the recommended frankincense amount
- Discontinue use if irritation, redness, or discomfort occurs
- Avoid contact with eyes; if contact occurs, rinse thoroughly with water
- Store away from children and pets
- Do not use on broken or severely irritated skin
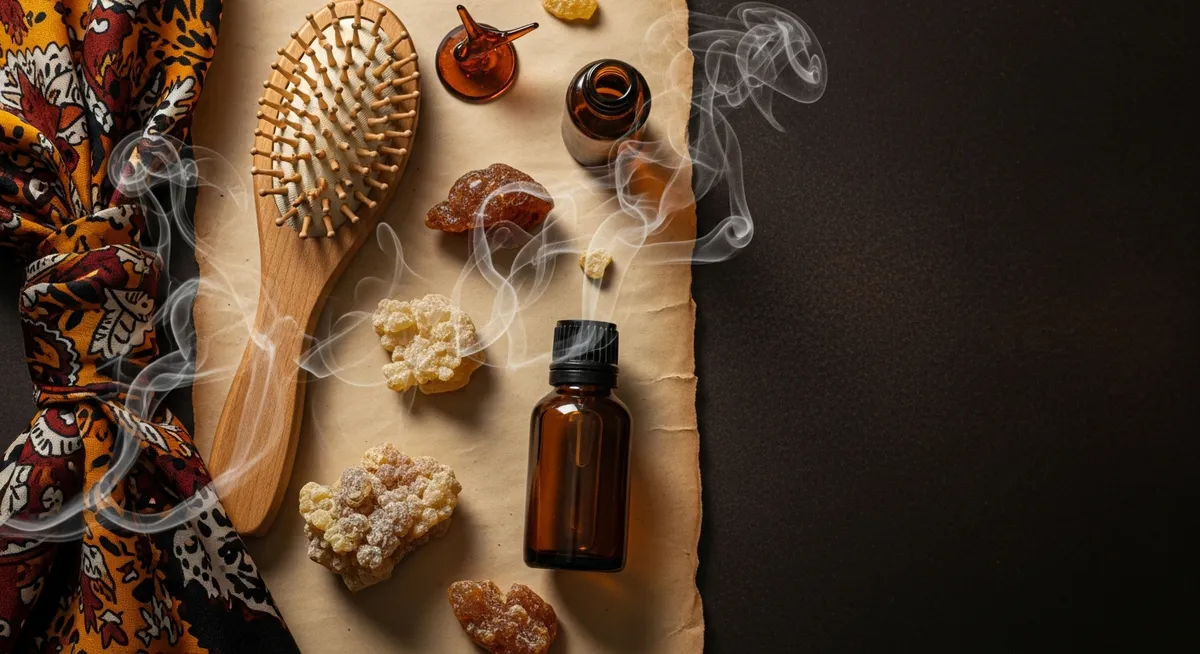
Application Instructions
To use your homemade frankincense toner:
- Cleanse your face with your regular gentle cleanser
- Shake the toner bottle gently before each use
- Apply to a cotton pad or spray directly onto clean skin
- Gently pat or press into skin, avoiding the eye area
- Allow to dry naturally before applying additional skincare products
- Use once daily initially, gradually increasing to twice daily as tolerated
Storage and Shelf Life
Proper storage is crucial for maintaining your toner's quality and safety:
- Store in a cool, dark place away from direct sunlight
- Refrigeration can extend shelf life but is not necessary
- Use within 2-3 months of preparation
- Discard if you notice any changes in color, scent, or texture
- Always use clean hands or tools when dispensing
Variations and Customization Options
For Extra Sensitive Skin
Reduce frankincense to 2-3 drops and increase rose water to 3 tablespoons. Consider substituting chamomile hydrosol for additional gentleness.
For Very Oily Skin
Increase witch hazel to 3 tablespoons and add 1 tablespoon of apple cider vinegar (diluted). Reduce glycerin to 1/8 teaspoon.
Seasonal Adaptation
During dry winter months, increase glycerin slightly. In humid summer conditions, you may prefer to omit the glycerin entirely.
Scent Variations
For a different aromatic profile, you may substitute 2-3 drops of frankincense with lavender or tea tree oil, maintaining the same total essential oil count for safety.
Troubleshooting Common Issues
If your toner appears cloudy, this is normal and doesn't affect efficacy. Simply shake before use. If separation occurs consistently, try reducing the glycerin amount slightly in your next batch.
Should you experience any skin sensitivity, discontinue use immediately and consult with a qualified healthcare provider or dermatologist.
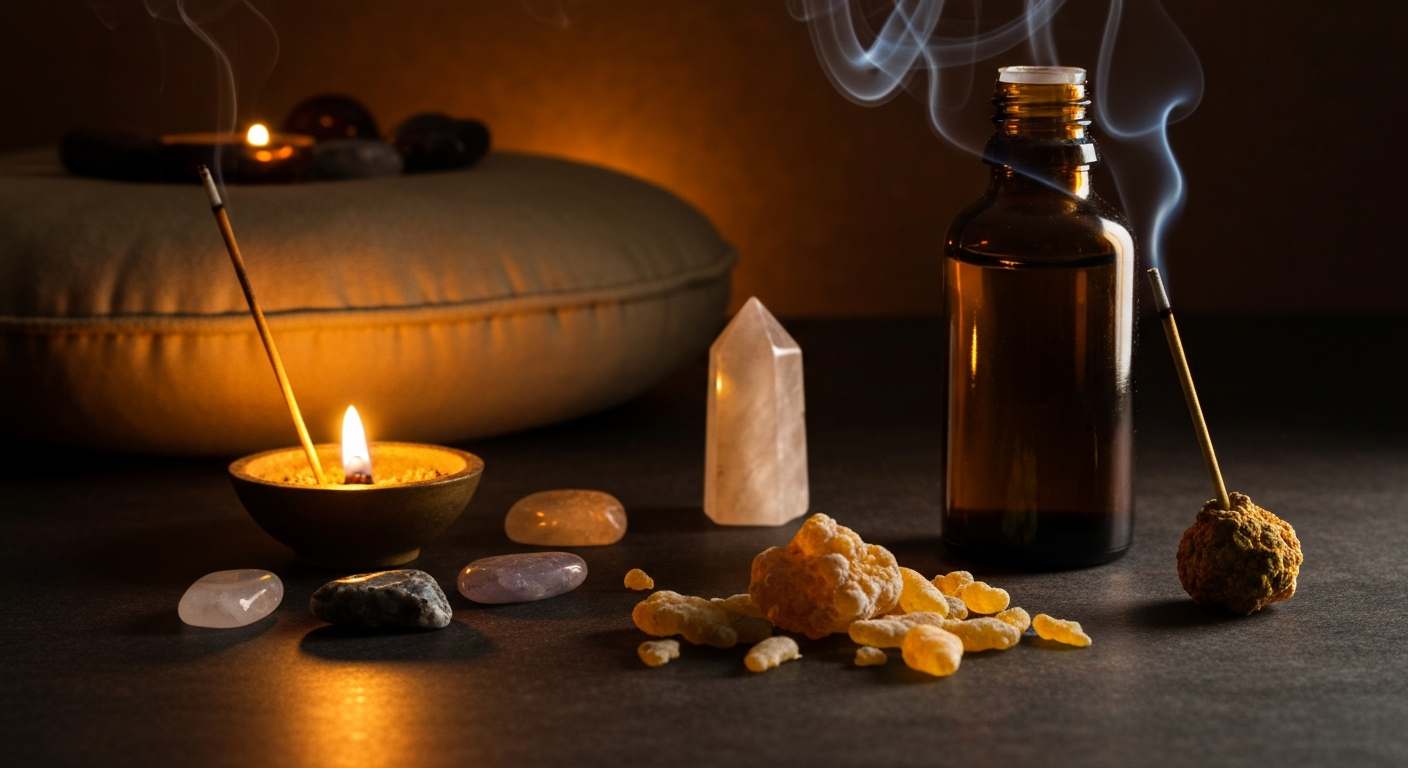
Complementing Your Routine
This DIY frankincense toner works beautifully as part of a broader natural skincare approach. Consider exploring how frankincense for skin applications might fit into your overall wellness routine.
Remember that skincare is highly individual, and what works wonderfully for one person may not suit another. Start slowly, listen to your skin, and always prioritize safety over speed when introducing new elements to your routine.
Disclaimer: This recipe is for educational purposes only and is not intended to diagnose, treat, cure, or prevent any skin condition. Individual results may vary significantly. Always consult with a qualified healthcare provider before making changes to your skincare routine, especially if you have existing skin concerns or conditions.
Shop Frankincense Essential Oil
Homemade toner deserves better than a mystery blend — pick a verified single-origin frankincense from our six-variety lineup before you mix.
Shop Frankincense Oil →