How to Use Frankincense Oil in Candle Making: A Complete Tutorial
The ancient art of candle making takes on an elevated dimension when infused with frankincense essential oil. This sacred resin, revered for millennia across cultures, brings an unparalleled depth of fragrance and spiritual ambiance to handcrafted candles. Creating frankincense candles at home allows you to harness both the meditative qualities of the crafting process and the transformative aromatic experience of this precious oil.
Whether you're seeking to enhance your meditation space, create meaningful gifts, or simply explore the therapeutic art of candle making, this comprehensive guide will walk you through every step of creating professional-quality DIY frankincense candles in your own home.
Understanding Frankincense in Candle Making
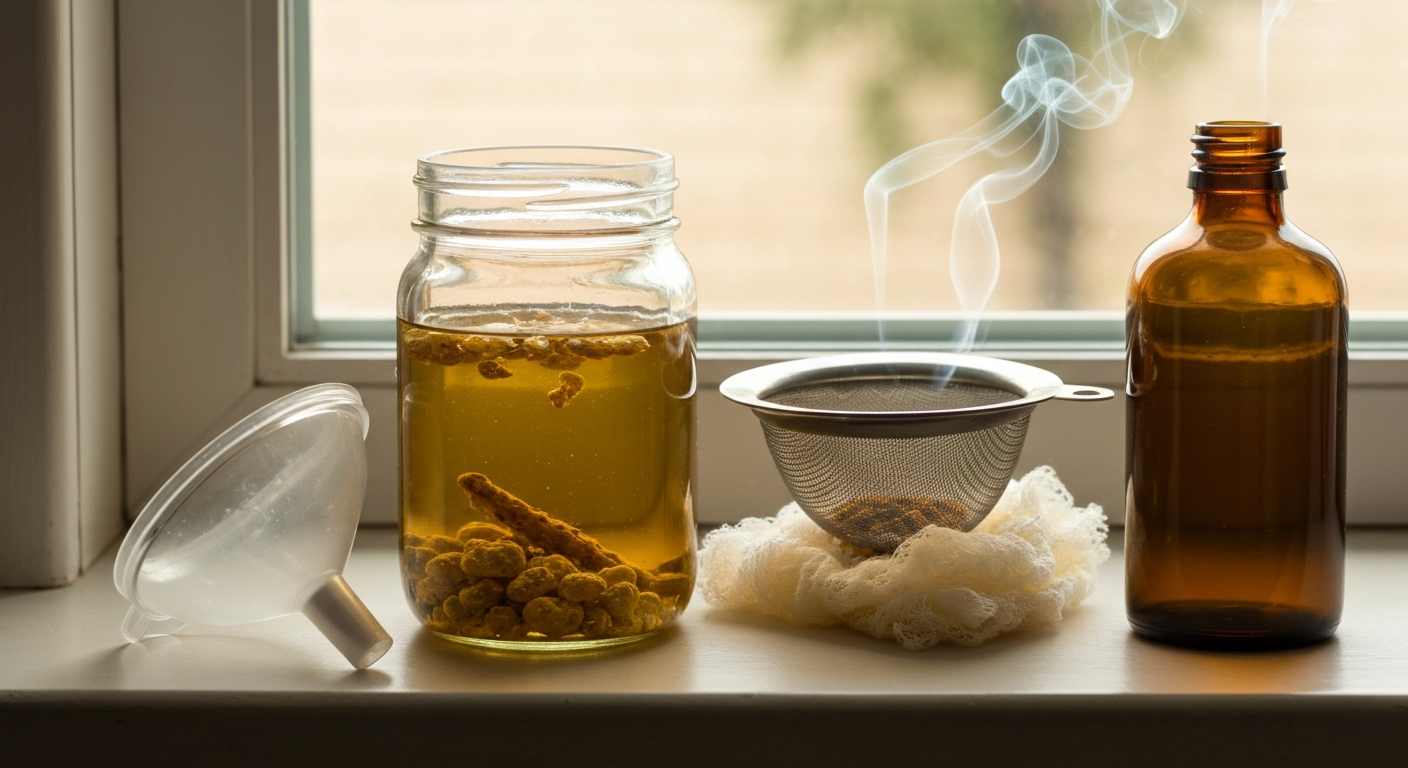
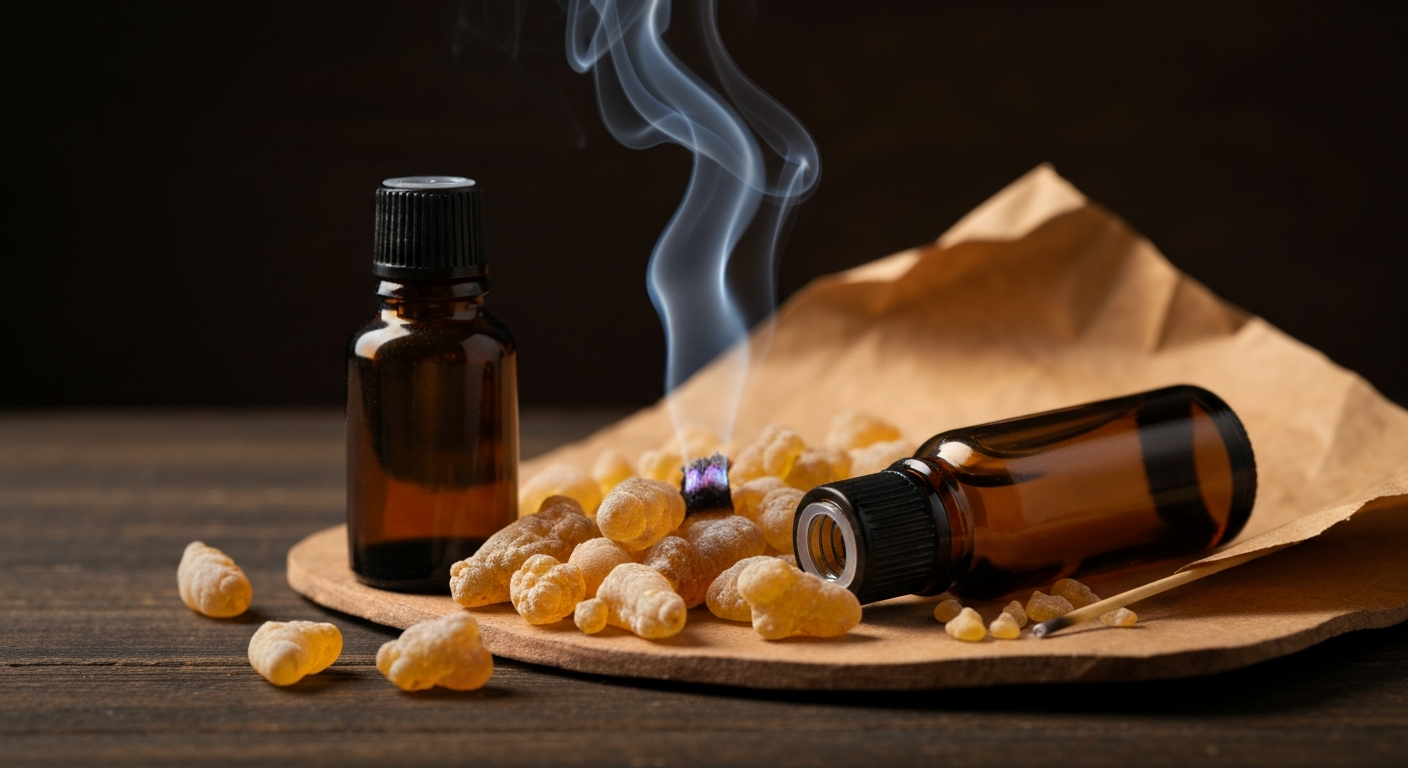
Before diving into the practical steps of frankincense candle making, it's essential to understand why this particular essential oil requires special consideration. Frankincense oil, derived from the resin of Boswellia trees, possesses unique molecular properties that influence how it behaves in wax.
The oil's complex chemical composition, including boswellic acids and various terpenes, may contribute to its renowned aromatic profile that people have traditionally associated with contemplation and spiritual practice. When properly incorporated into candle wax, these compounds create a slow-releasing fragrance that can transform any space into a sanctuary of calm.
For those interested in exploring the broader applications of this precious oil, our comprehensive aromatherapy guide offers deeper insights into its traditional uses and modern applications.
Essential Materials and Ingredients
Quality frankincense candles begin with premium materials. Here's your complete shopping list for creating professional-grade candles:
Base Materials
- Soy wax flakes or blocks (1 pound makes approximately 4-6 medium candles)
- Cotton or wood wicks (sized appropriately for your container diameter)
- Glass containers or candle molds (heat-resistant only)
- Wick stickers or centering devices
Frankincense Components
- High-quality frankincense essential oil (15-30 ml depending on batch size)
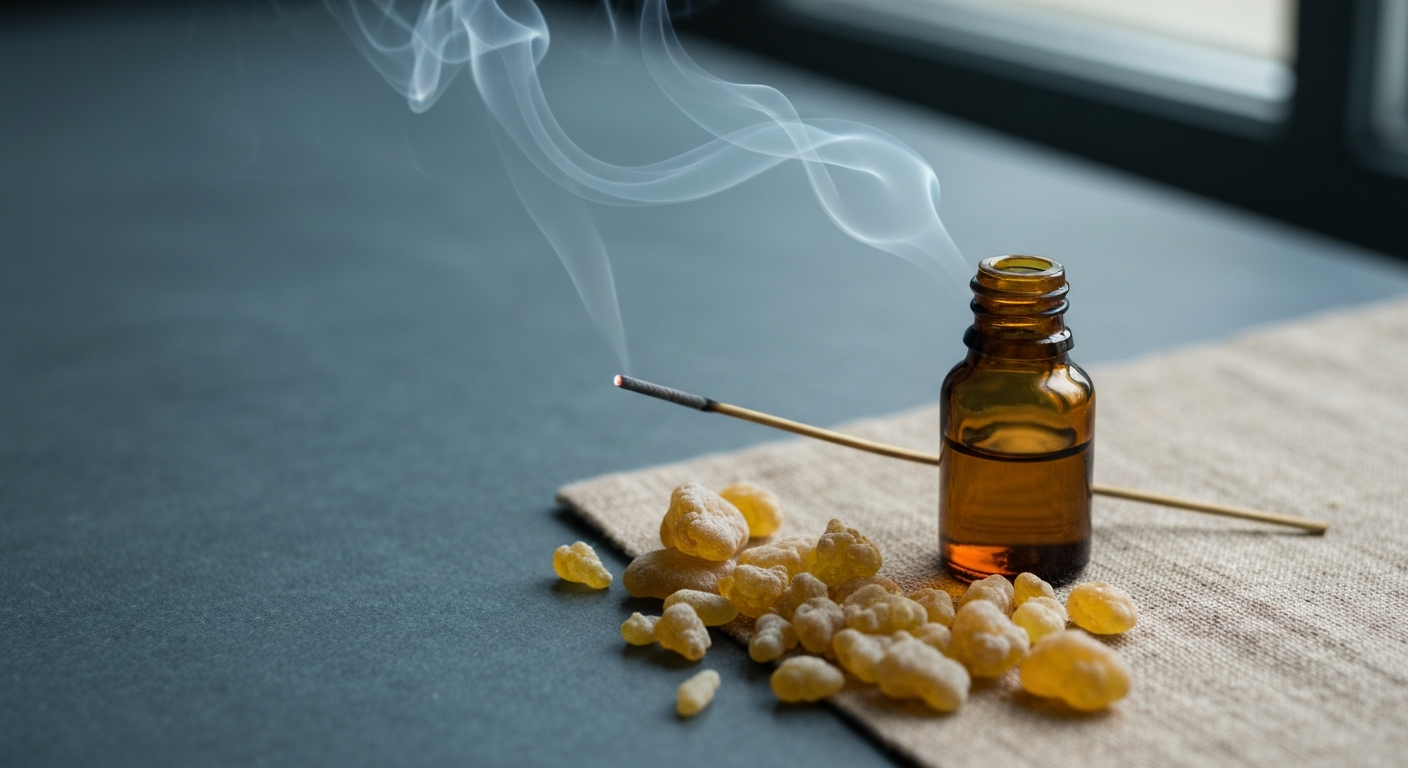
- Optional: Frankincense resin powder for enhanced texture and scent throw
Understanding the difference between frankincense resin and oil can help you make informed decisions about which form best suits your candle-making goals.
Equipment Needed
- Double boiler or dedicated wax melter
- Digital thermometer (candy or candle-making thermometer)
- Stirring utensils (wooden or silicone)
- Measuring cups and scale
- Protective equipment (apron, heat-resistant gloves)
- Wick trimming scissors
Step-by-Step Frankincense Candle Making Process

Step 1: Prepare Your Workspace
Create a clean, organized workspace away from drafts and distractions. Lay out all materials within easy reach and ensure adequate ventilation. Cover your work surface with newspaper or parchment paper to protect against wax spills.
Safety Note: Always work in a well-ventilated area when melting wax and using essential oils. Keep a fire extinguisher nearby and never leave melting wax unattended.
Step 2: Calculate Your Fragrance Load
For frankincense candles, the optimal fragrance load typically ranges from 6-8% of your total wax weight. This means for every 16 ounces (1 pound) of wax, you'll use approximately 0.75 to 1 ounce of frankincense essential oil. This ratio ensures proper scent throw without compromising the candle's burn quality.
Step 3: Prepare Your Containers and Wicks
Clean your containers thoroughly and allow them to dry completely. Attach wick stickers to the bottom of your wicks and center them in your containers. Use wick centering devices or pencils laid across the container rim to keep wicks perfectly centered and straight.
Step 4: Melt the Wax
Using a double boiler, begin melting your soy wax over medium-low heat. Monitor the temperature carefully with your thermometer. Soy wax should be heated to approximately 185°F (85°C) for optimal pouring. Stir occasionally with a wooden spoon to ensure even melting.
Pro Tip: Never overheat wax, as temperatures above 200°F can damage both the wax structure and compromise fragrance retention.
Step 5: Add Frankincense Oil
Once your wax reaches the target temperature, remove it from heat and allow it to cool to approximately 175°F (79°C). This slight cooling helps preserve the delicate aromatic compounds in frankincense oil. Add your measured frankincense essential oil and stir gently but thoroughly for 2-3 minutes to ensure even distribution.
Important: Add essential oils only after removing wax from direct heat to prevent volatilization of the aromatic compounds.
Step 6: Pour the Candles
Allow the wax mixture to cool to approximately 135°F (57°C) before pouring. This temperature helps minimize air bubbles and ensures smooth candle surfaces. Pour slowly and steadily, leaving about ½ inch of space at the top of each container.
Step 7: Cool and Set
Allow candles to cool undisturbed for 4-6 hours at room temperature. Avoid moving them or exposing them to drafts during this crucial setting period. The surface should appear smooth and even when properly cooled.
Step 8: Trim and Finish
Once completely cooled, trim wicks to ¼ inch above the wax surface. Clean any wax residue from container edges and attach labels if desired.
Advanced Techniques for Enhanced Results
Layered Frankincense Candles
Create visual interest by making layered candles with varying concentrations of frankincense oil. Pour the first layer with a lighter fragrance load, allow it to set partially, then add subsequent layers with increasing intensity.
Incorporating Frankincense Resin
For those seeking an authentic, traditional approach, consider adding finely ground frankincense resin powder to your wax mixture. Use approximately 1 tablespoon per pound of wax, adding it along with the essential oil. This technique creates unique texture and may enhance the overall aromatic experience.
Blending Complementary Oils
Frankincense pairs beautifully with other essential oils. Consider subtle additions of myrrh, sandalwood, or bergamot to create complex, custom fragrances. Never exceed the total 8% fragrance load when blending oils.
Common Mistakes and How to Avoid Them

Temperature-Related Issues
Problem: Wax that's too hot when adding frankincense oil can cause rapid evaporation of aromatic compounds.
Solution: Always allow wax to cool to 175°F before adding essential oils.
Insufficient Mixing
Problem: Uneven fragrance distribution results in candles with weak or inconsistent scent throw.
Solution: Stir thoroughly for 2-3 minutes after adding oils, ensuring complete integration.
Incorrect Wick Sizing
Problem: Oversized wicks create excessive heat and rapid burning, while undersized wicks may tunnel.
Solution: Choose wicks appropriate for your container diameter and wax type. Test burn small samples before making large batches.
Poor Quality Essential Oil
Problem: Synthetic or diluted oils provide poor scent throw and may not blend properly with wax.
Solution: Invest in authentic, high-quality frankincense essential oil from reputable suppliers.
Maximizing Your Frankincense Candle Experience
Optimal Burning Practices
To fully appreciate your handcrafted frankincense candles, follow proper burning etiquette. Allow the wax pool to reach the container edges during the first burn to establish proper burn memory. Trim wicks to ¼ inch before each lighting to maintain clean burning and optimal fragrance release.
Storage and Aging
Frankincense candles benefit from a curing period. Store finished candles in a cool, dry place for 1-2 weeks before burning. This aging process allows the fragrance to fully integrate with the wax, potentially enhancing the overall aromatic experience.
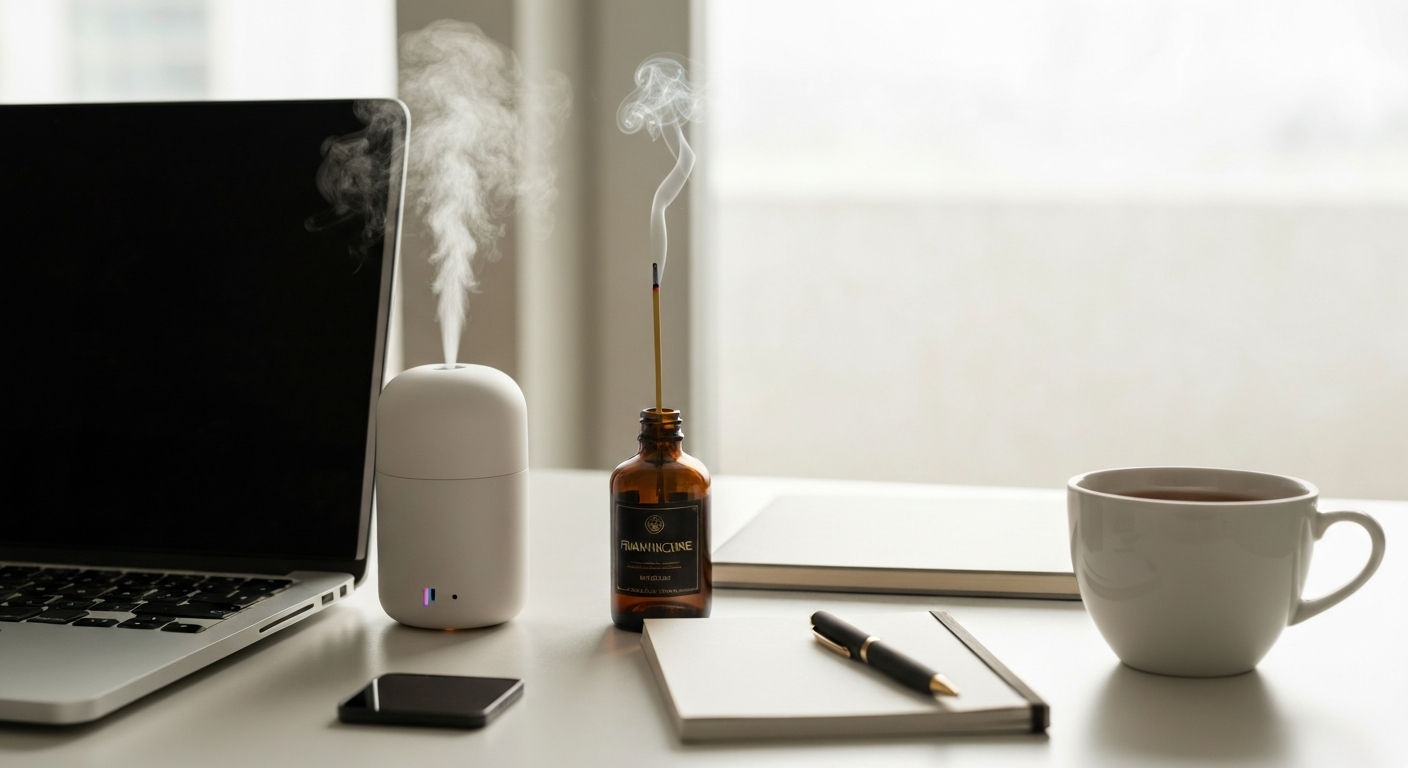
Creating Ambiance
The aromatic profile of frankincense has been traditionally associated with meditation and contemplative practices. Many people report that lighting these candles may help create an atmosphere conducive to relaxation and mindful reflection.
Troubleshooting Common Issues
Weak Scent Throw
If your finished candles don't provide the aromatic experience you expected, consider these factors:
- Increase fragrance load up to 8% maximum
- Ensure proper wax-to-oil integration through thorough mixing
- Verify you're using genuine frankincense essential oil
- Allow adequate curing time before testing
Surface Imperfections
Rough or uneven candle surfaces often result from temperature issues or environmental factors:
- Pour at the correct temperature (135°F for soy wax)
- Ensure containers are at room temperature before pouring
- Protect cooling candles from drafts and temperature fluctuations
Wick Problems
Proper wick performance is crucial for optimal frankincense release:
- Mushrooming wicks indicate oversizing - switch to smaller wicks
- Tunneling suggests undersized wicks or poor burn habits
- Drowning wicks may indicate too much fragrance oil or incorrect wax temperature
Safety Considerations and Best Practices
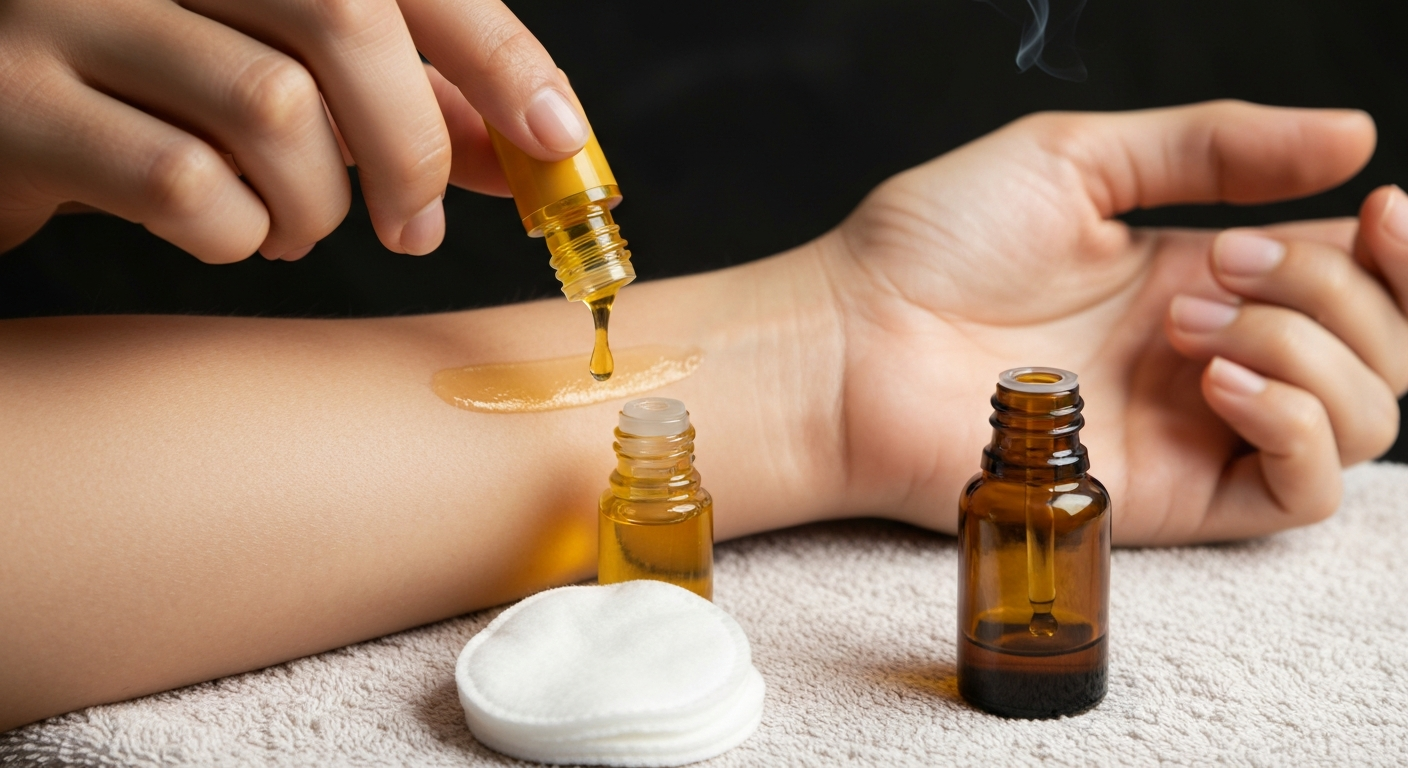
Essential Oil Safety: While frankincense essential oil is generally well-tolerated, always use proper dilution ratios and ensure adequate ventilation during the candle-making process. Some individuals may be sensitive to concentrated aromatic compounds.
Fire Safety: Never leave burning candles unattended. Keep candles away from flammable materials and ensure stable placement on heat-resistant surfaces.
Storage Safety: Store essential oils in cool, dark places away from heat sources and out of reach of children and pets.
Expanding Your Frankincense Crafting Journey
Once you've mastered basic frankincense candle making, consider exploring other DIY frankincense projects to further develop your skills with this remarkable essential oil. From room sprays to bath products, frankincense offers endless possibilities for creative expression.
The art of frankincense candle making connects us to ancient traditions while providing modern satisfaction through the creative process. Each handcrafted candle becomes a unique expression of your dedication to quality and authenticity.
Remember that mastery comes through practice and experimentation. Start with small batches, keep detailed notes of your processes and results, and don't hesitate to adjust techniques based on your observations.
Important Disclaimer: This guide is for educational purposes only. While many people enjoy the aromatic and ambiance-enhancing qualities of frankincense candles, these products are not intended to diagnose, treat, cure, or prevent any medical condition. Always consult with a qualified healthcare provider regarding any health concerns.
With patience, quality materials, and attention to detail, your homemade frankincense candles will provide countless hours of aromatic enjoyment while honoring the timeless legacy of this sacred resin.
Shop Frankincense Essential Oil
Candle batches use real quantities of oil — our sizes run from a 0.5 oz tester up to bulk for serious makers.
Shop Frankincense Oil →