DIY Frankincense Pain Relief Balm: Muscle and Joint Formula
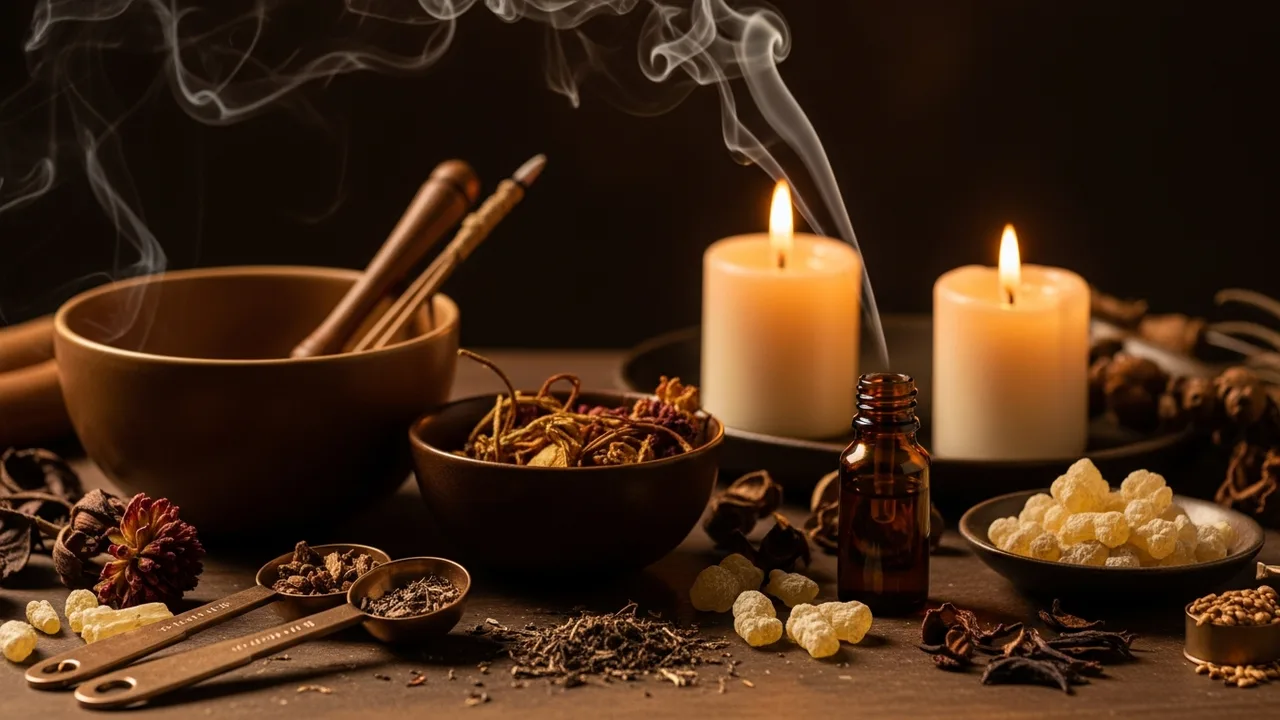
For centuries, artisans have crafted topical balms incorporating frankincense, one of history's most revered aromatic resins. This ancient practice continues today as people seek natural alternatives to support their wellness routines. Creating your own frankincense pain balm recipe allows you to harness traditional knowledge while ensuring quality control over every ingredient.
This comprehensive guide will walk you through crafting a luxurious DIY frankincense muscle balm that combines the time-honored properties of Boswellia serrata with complementary botanical ingredients. While we cannot make medical claims about effectiveness, many users report finding comfort in the ritual of applying aromatic balms as part of their self-care practices.
Understanding Frankincense in Topical Applications
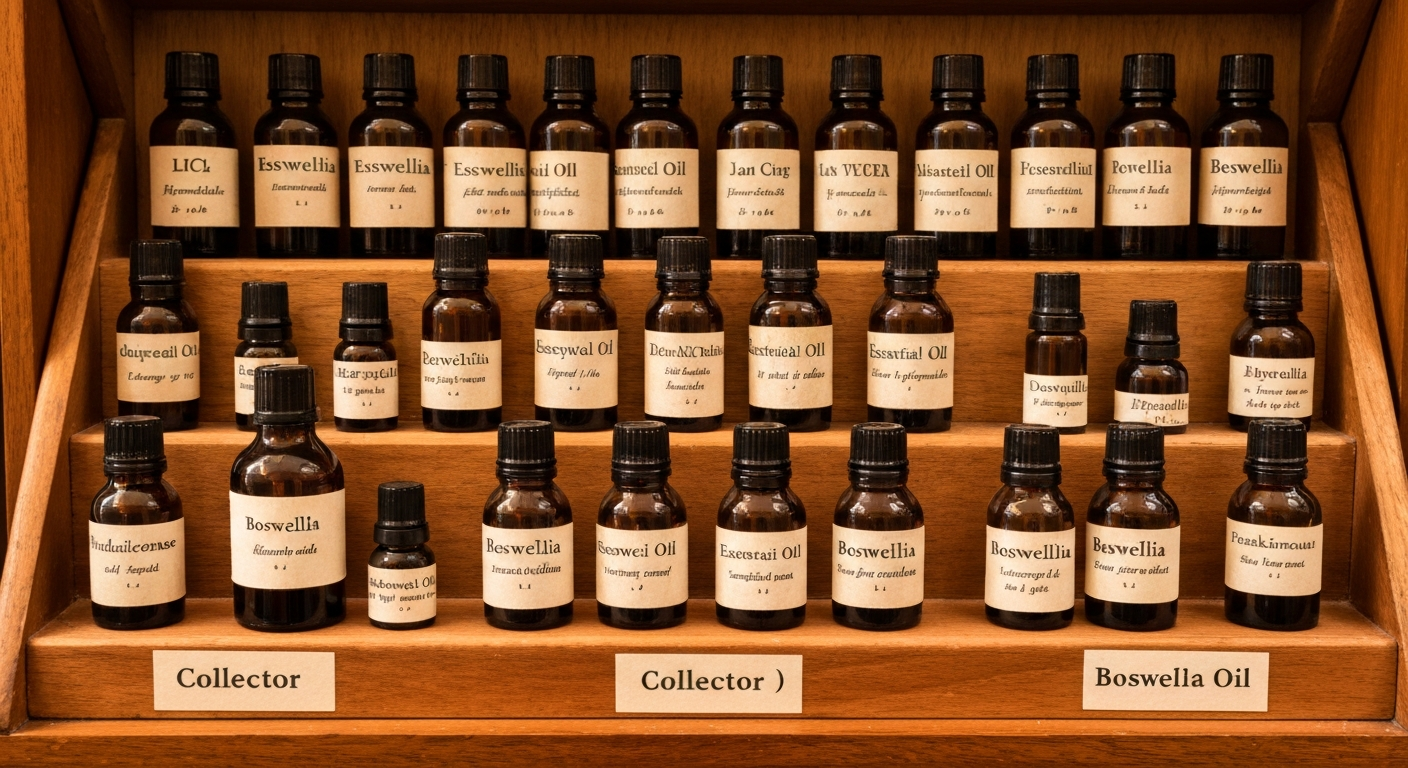
Frankincense essential oil has been traditionally used in topical preparations across various cultures for thousands of years. Ancient texts describe its incorporation into balms and salves, though historical uses should not be interpreted as modern medical guidance. Contemporary aromatherapy practices suggest frankincense may help promote a sense of comfort when applied topically, though individual experiences vary greatly.
The resinous compounds in frankincense, including boswellic acids, have been subjects of modern research interest. Some preliminary studies have examined these compounds in laboratory settings, though results cannot be translated into specific health claims for DIY preparations. When creating a frankincense joint cream, we approach it from a traditional wellness perspective rather than making therapeutic assertions.
It's important to understand that any topical preparation should complement, never replace, proper medical care. Always consult with qualified healthcare providers regarding persistent discomfort or any health concerns.
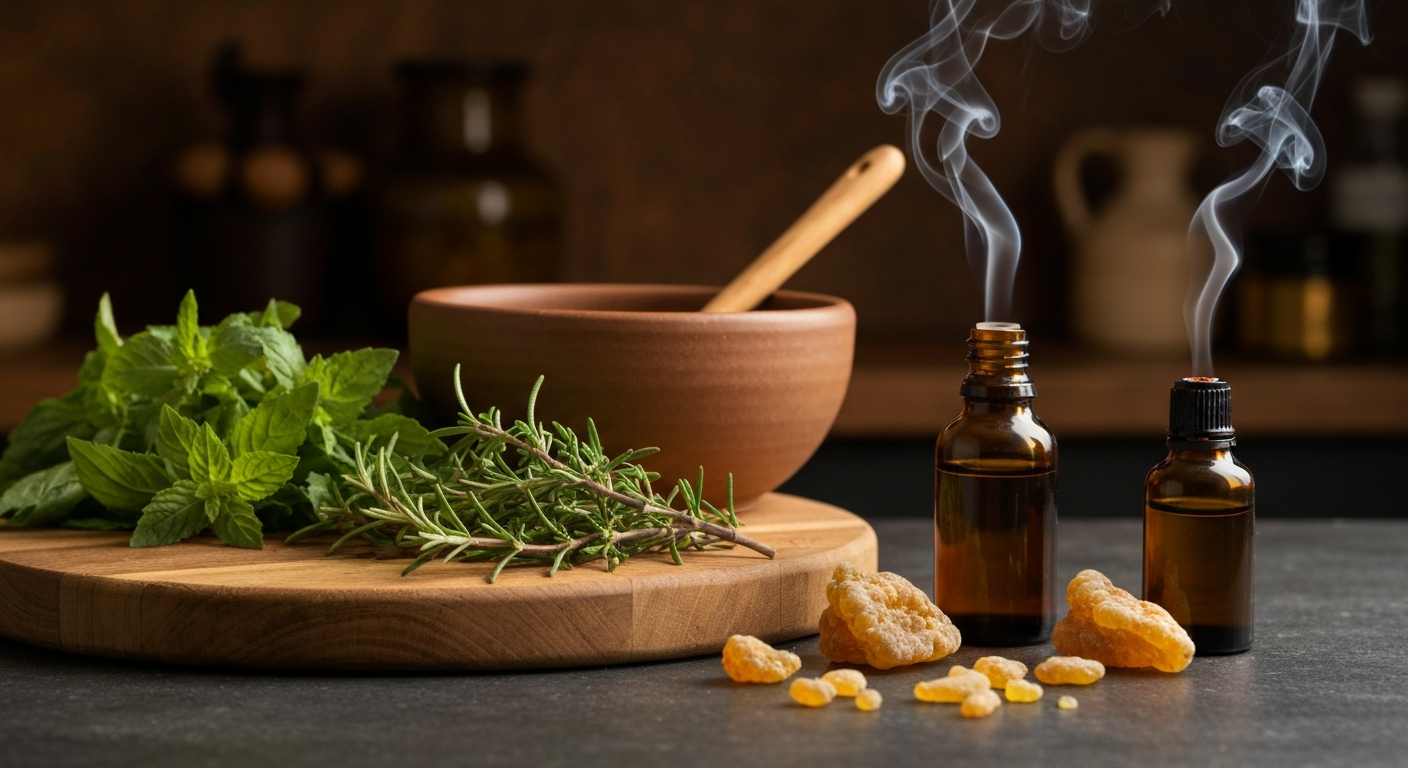
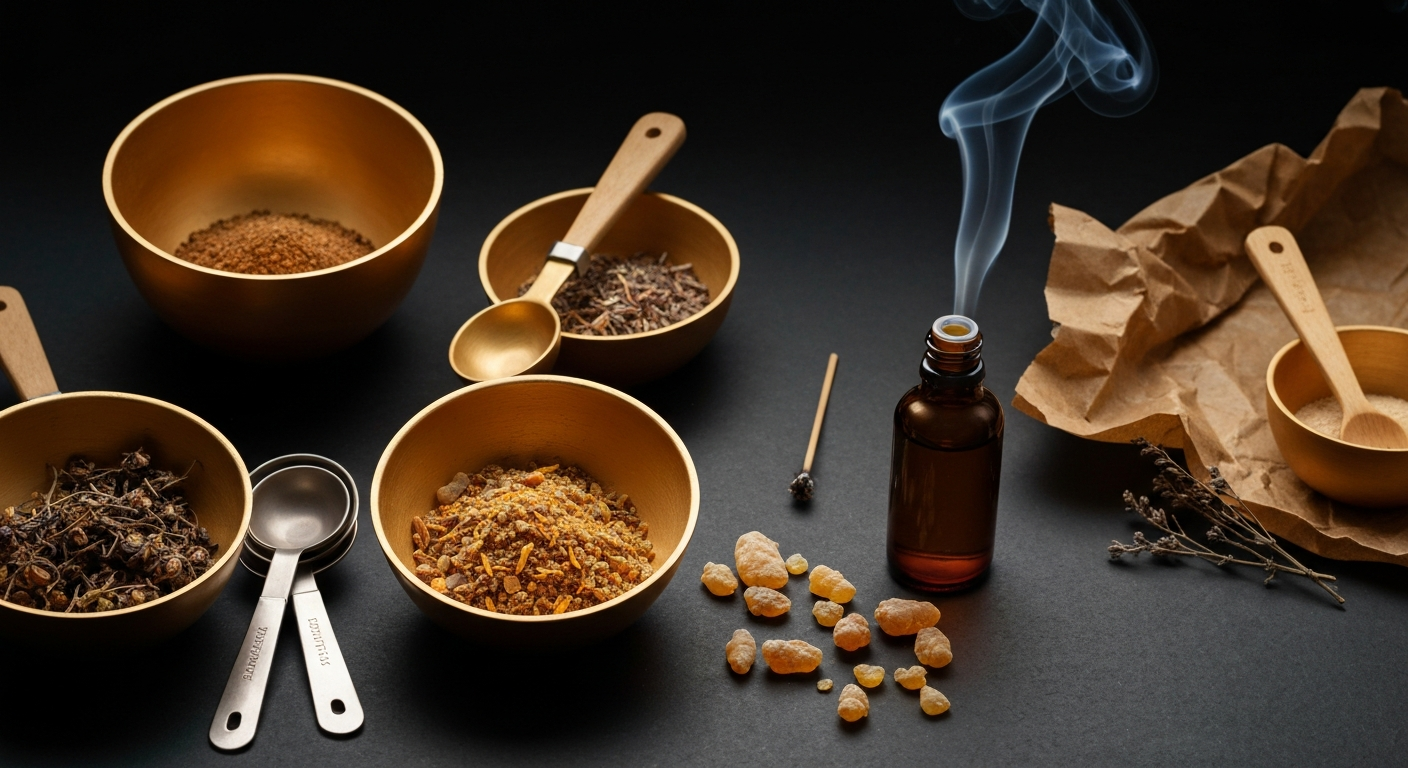
Essential Ingredients for Your Frankincense Balm
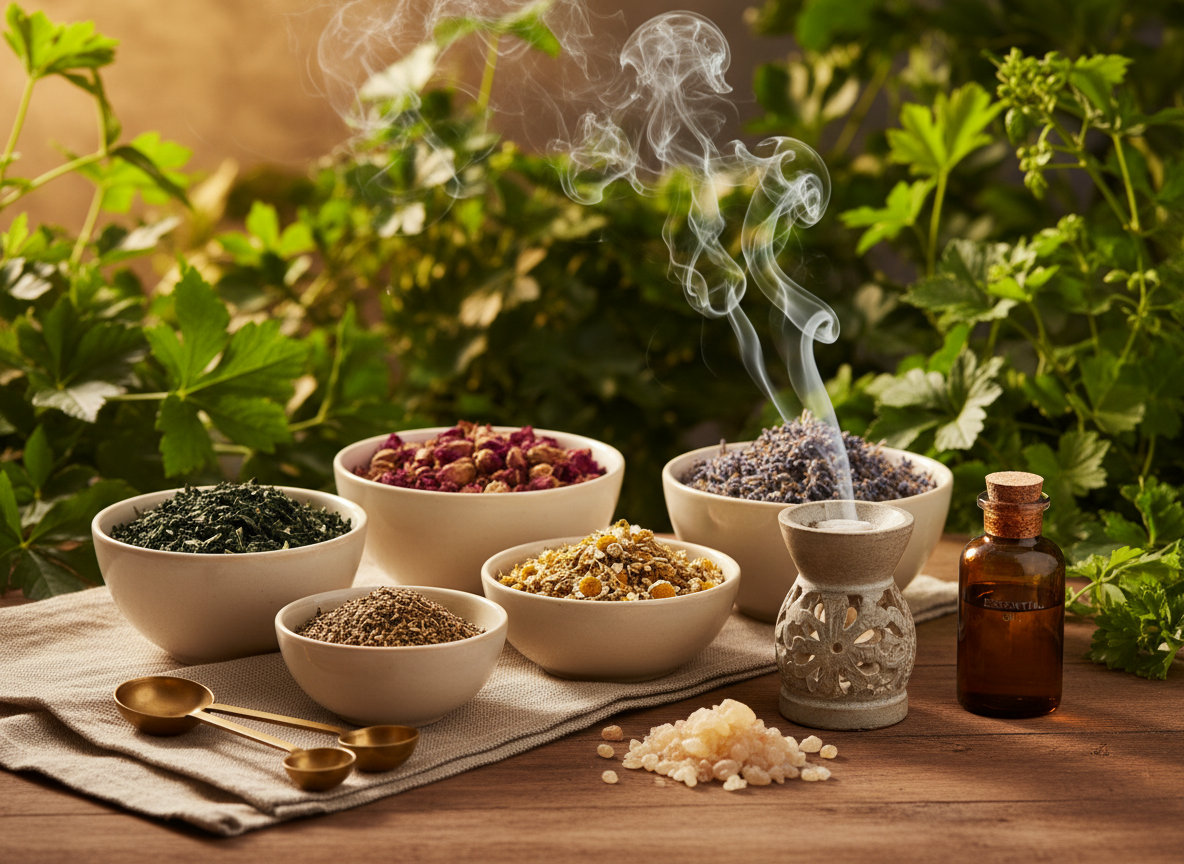
Creating an effective DIY frankincense muscle balm requires carefully selected ingredients that work harmoniously together. Quality matters significantly when crafting artisanal balms, as inferior ingredients can affect both texture and aromatic profile.
Base Ingredients
- Beeswax (2 tablespoons): Provides structure and creates the characteristic balm consistency. Choose organic, unbleached beeswax for purity.
- Coconut oil (1/4 cup): Offers excellent absorption properties and natural preservation qualities. Fractionated coconut oil remains liquid at room temperature, making it easier to work with.
- Sweet almond oil (2 tablespoons): A gentle carrier oil that's well-tolerated by most skin types and provides smooth application.
- Shea butter (2 tablespoons): Adds richness and may help promote skin comfort. Choose unrefined for maximum beneficial compounds.
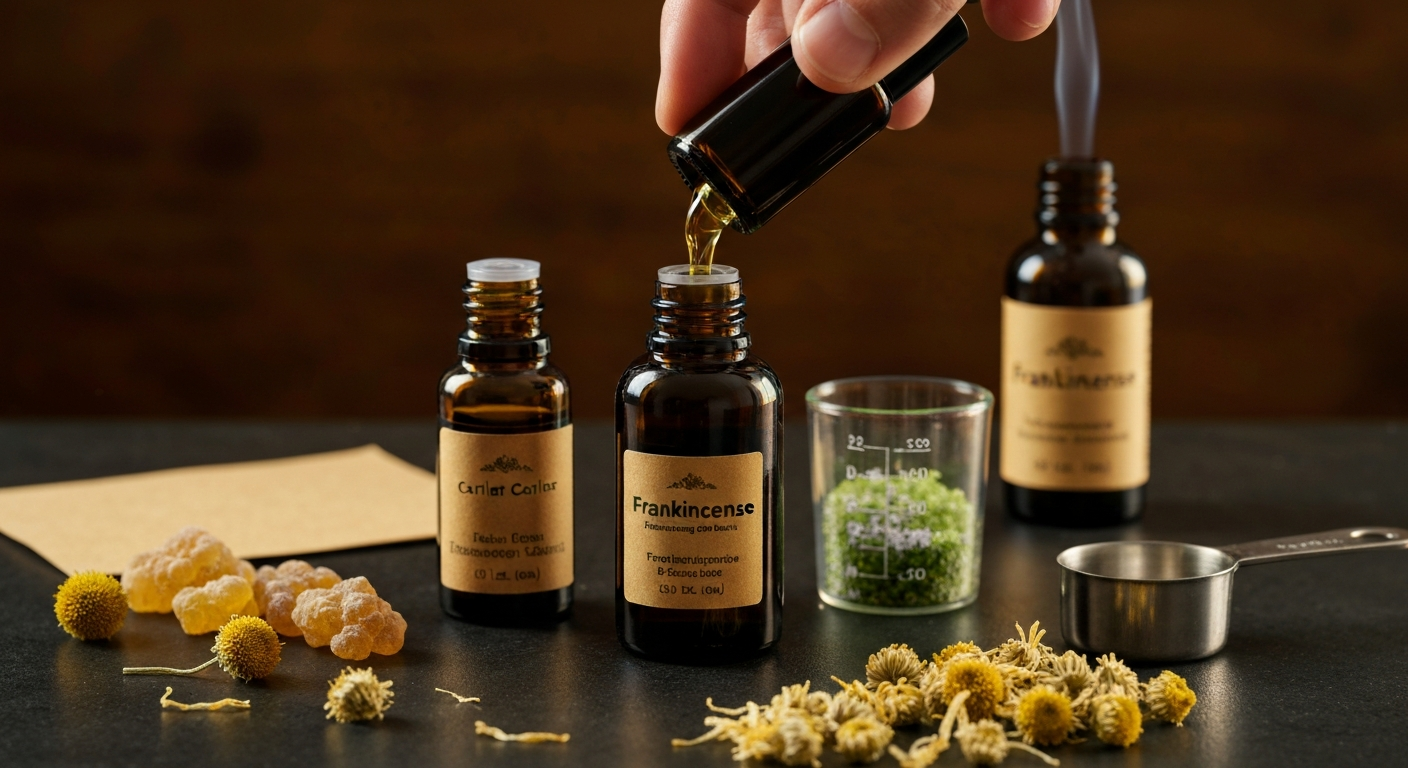
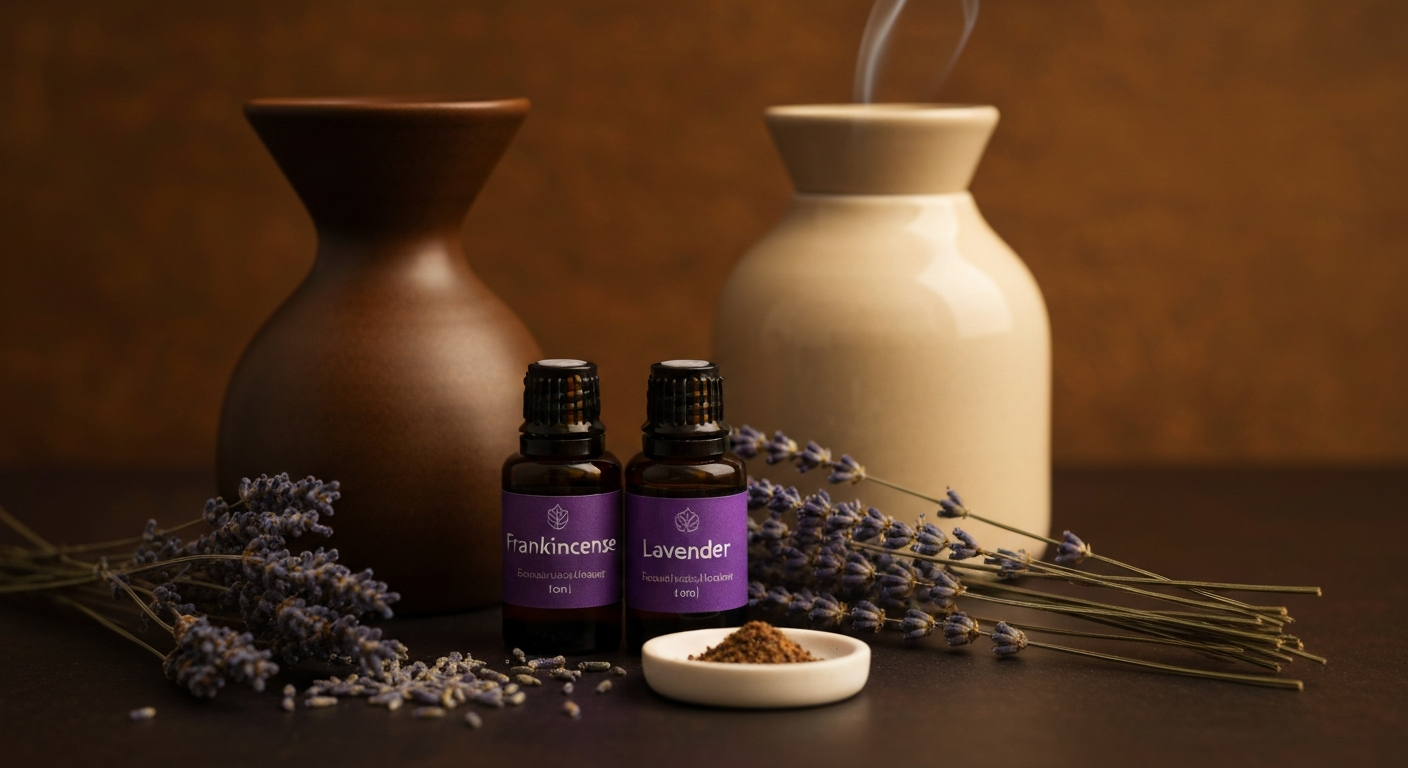
Essential Oil Blend
- Frankincense essential oil (15-20 drops): The star ingredient, traditionally valued for its aromatic and wellness properties.
- Lavender essential oil (10 drops): Traditionally used to promote relaxation and complement frankincense's profile.
- Peppermint essential oil (5-8 drops): Creates a cooling sensation that many find refreshing. Use sparingly as it's potent.
- Eucalyptus essential oil (5 drops): Adds an invigorating aromatic note and traditional camphoraceous quality.
Safety Considerations and Dilution Guidelines
Critical Safety Warning: Essential oils are highly concentrated and can cause skin irritation or allergic reactions if used improperly. The dilution ratios in this frankincense pain balm recipe represent approximately 2-3% essential oil concentration, which falls within generally accepted guidelines for topical adult use.
Important Safety Precautions:
- Patch testing is mandatory: Apply a small amount of finished balm to the inside of your wrist and wait 24-48 hours to check for reactions before full use.
- Pregnancy and nursing: Consult healthcare providers before using essential oil preparations during pregnancy or while breastfeeding.
- Children: This formulation is intended for adults. Children require significantly lower essential oil concentrations.
- Medical conditions: Those with skin conditions, allergies, or taking medications should consult healthcare providers before use.
- Sun sensitivity: Some essential oils can increase photosensitivity. Avoid sun exposure on treated areas for 12-24 hours after application.
Contraindications and Interactions
Certain individuals should exercise extra caution or avoid this DIY frankincense muscle balm entirely:
- Those with known allergies to any ingredients
- Individuals with compromised skin barriers or open wounds
- People taking blood-thinning medications (some essential oils may interact)
- Those with respiratory conditions who may be sensitive to strong aromatics
Step-by-Step Preparation Instructions
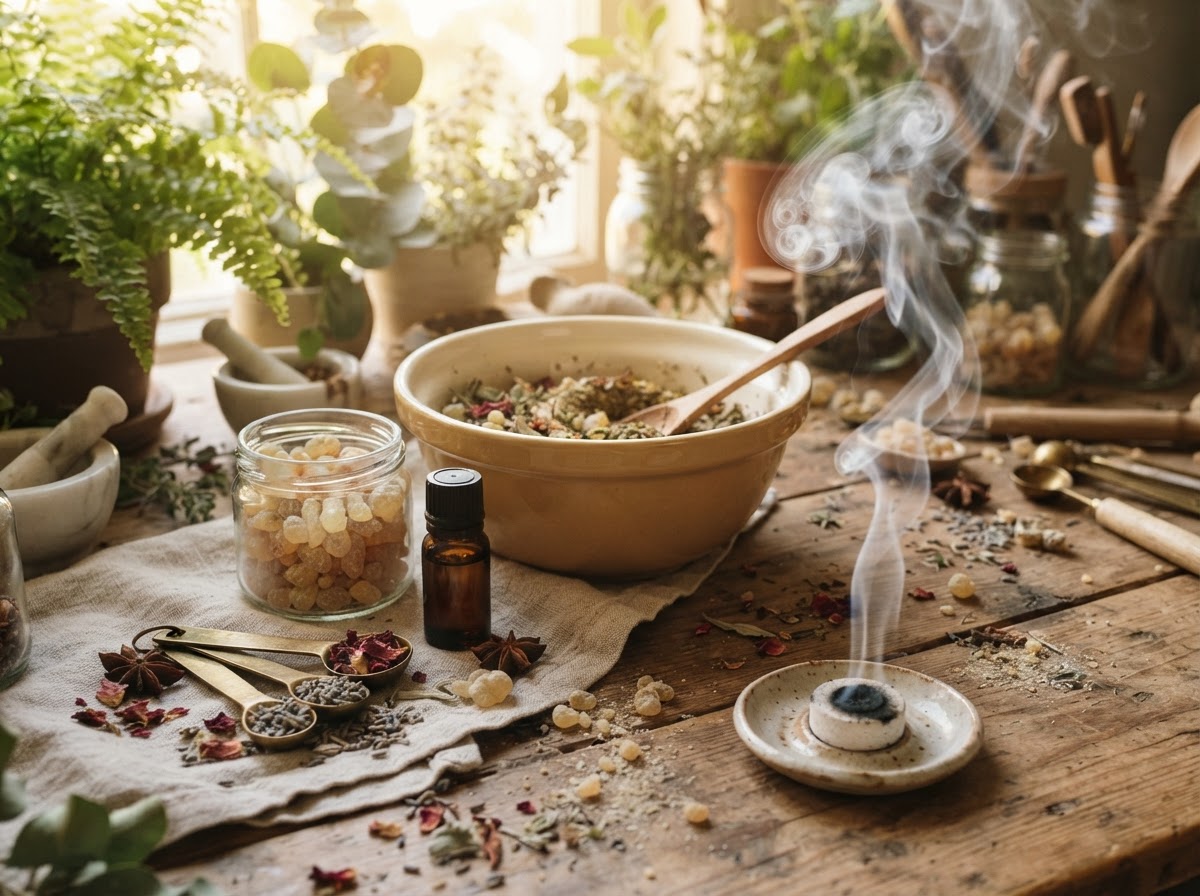
Crafting your frankincense joint cream requires patience and attention to detail. Work in a clean environment with sterilized equipment to ensure product quality and shelf life.
Equipment Needed:
- Double boiler or heat-safe glass bowl and saucepan
- Wooden stirring spoon or silicone spatula
- Small glass containers or tins for storage (2-4 oz capacity)
- Fine mesh strainer (if using herbs)
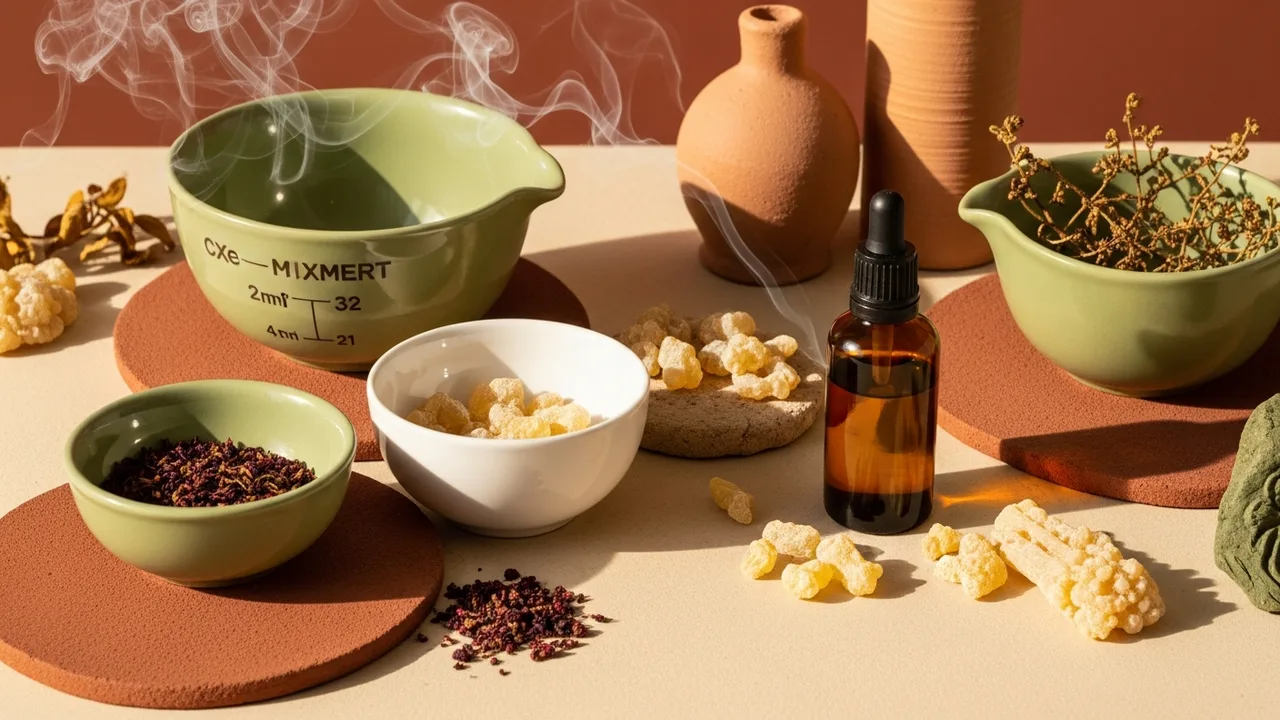
- Kitchen scale for accurate measurements
- Labels for finished products
Preparation Method:
- Prepare your workspace: Sterilize all equipment with rubbing alcohol and ensure containers are completely dry. Work on a clean surface away from drafts. \li>Measure base ingredients: Weigh all carrier oils, beeswax, and shea butter according to the recipe. Accuracy ensures consistent results.
- Create double boiler setup: Fill saucepan with 2 inches of water and place heat-safe bowl on top. Ensure bowl doesn't touch the water directly.
- Melt base ingredients: Heat water to gentle simmer. Add beeswax first, as it takes longest to melt. Once softened, add coconut oil, then sweet almond oil and shea butter.
- Monitor temperature: Keep mixture below 160°F to preserve beneficial compounds. Stir occasionally with wooden spoon until completely smooth.
- Cool slightly: Remove from heat and let cool for 2-3 minutes. Mixture should still be liquid but not steaming hot.
- Add essential oils: Stir in frankincense first, followed by other essential oils. Mix thoroughly to ensure even distribution.
- Pour into containers: Working quickly, pour mixture into prepared containers. Leave small headspace for expansion.
- Cool completely: Allow to solidify at room temperature for 2-4 hours before sealing. Avoid refrigeration during initial cooling.
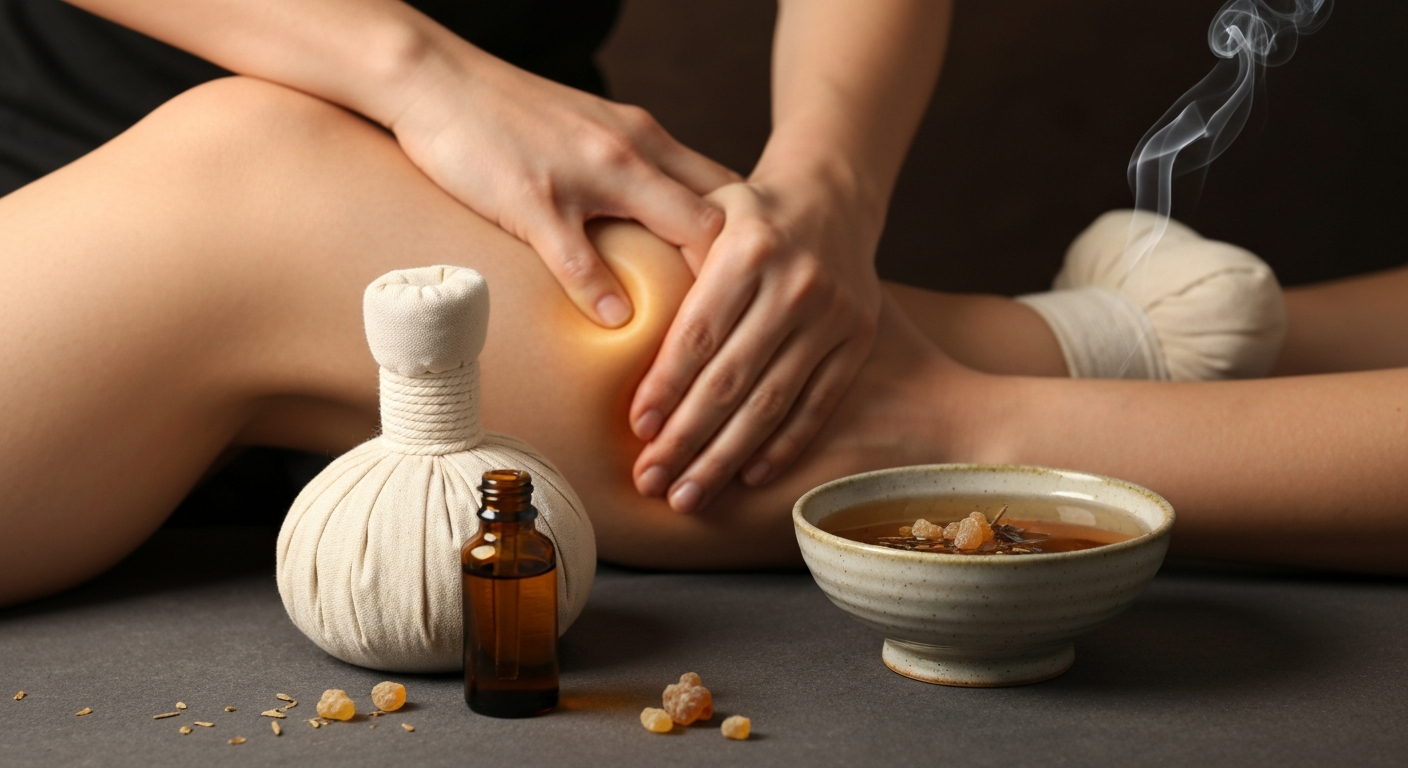
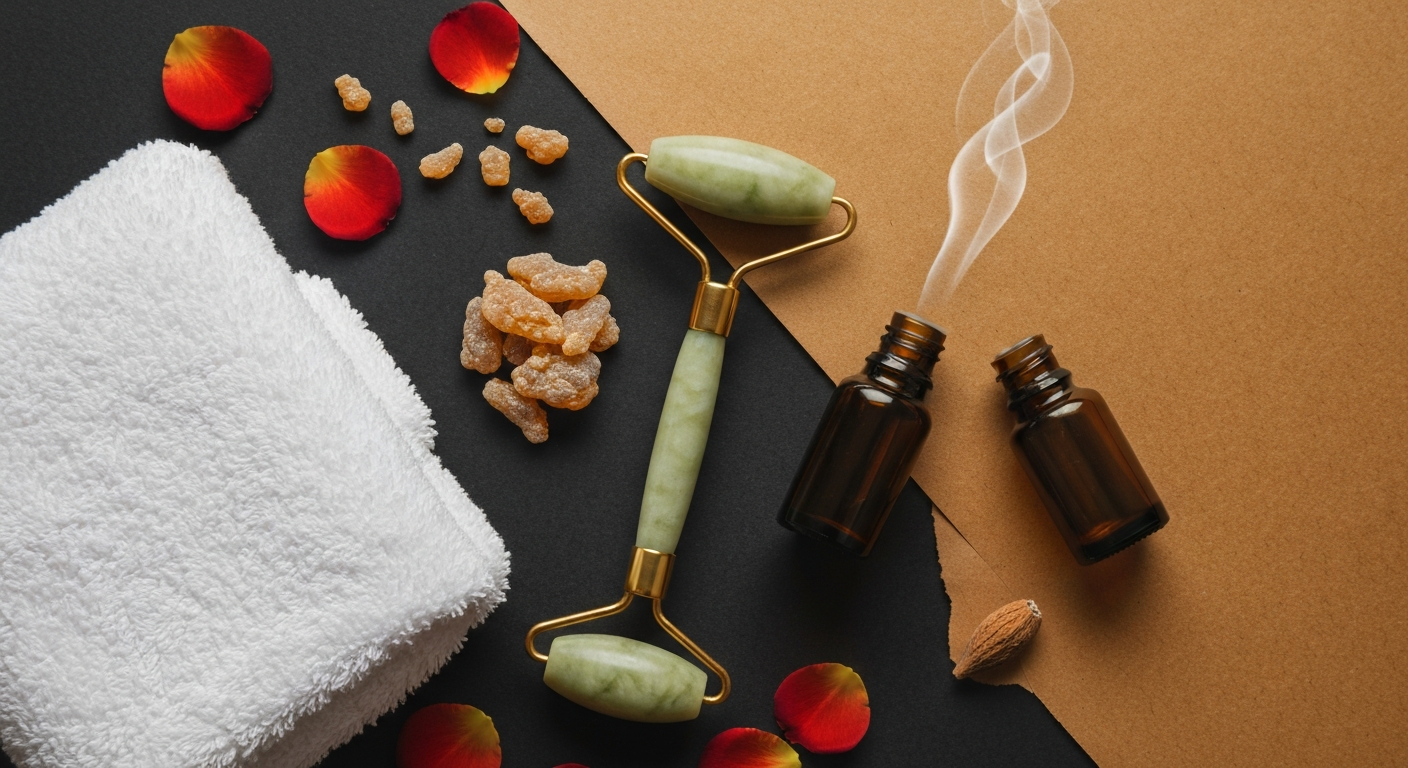
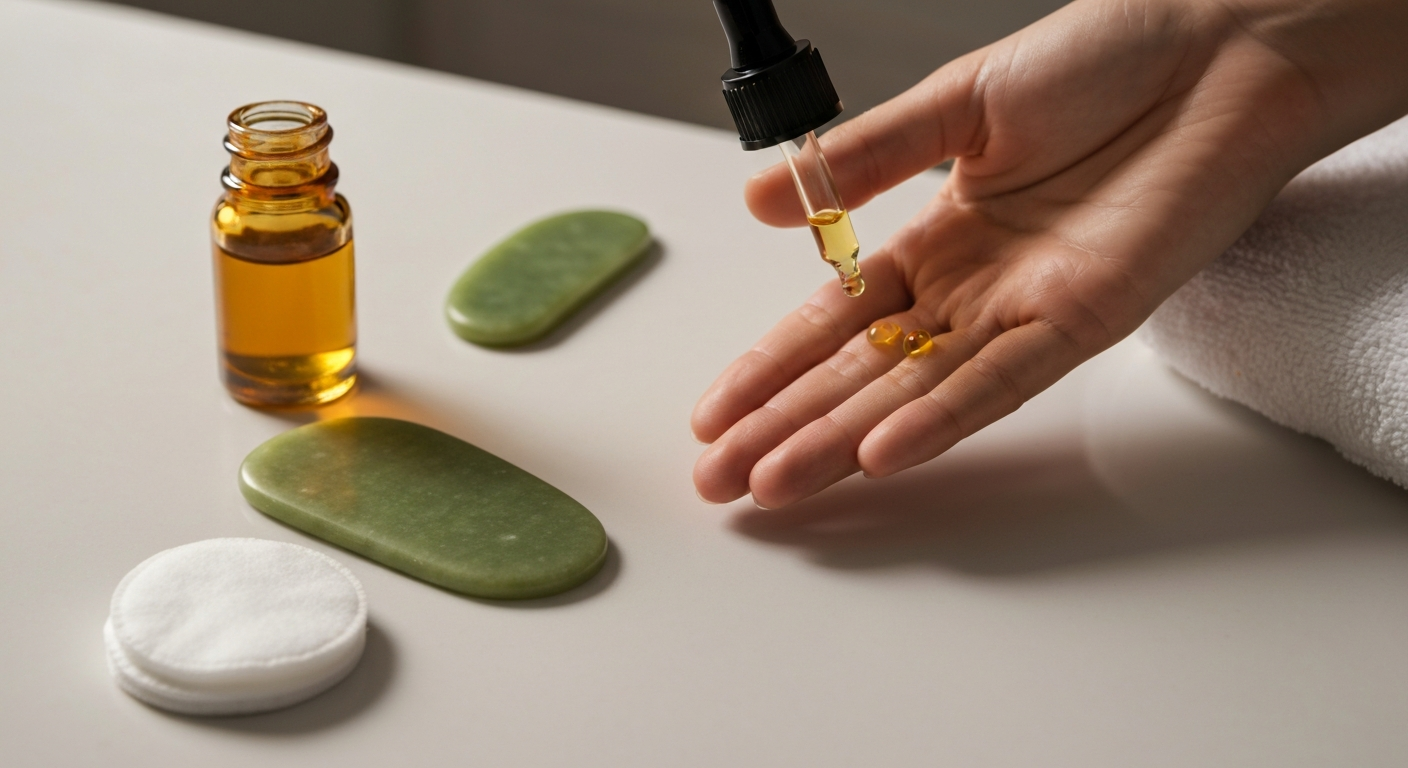
Application Techniques and Usage Guidelines
Proper application of your DIY frankincense muscle balm can enhance the overall experience while ensuring safety. Remember that individual responses to topical preparations vary significantly.
Recommended Application Method:
- Clean application area: Gently wash and dry the skin where you plan to apply the balm.
- Warm between palms: Take a small amount (pea-sized for localized areas) and warm between your palms to soften.
- Apply with circular motions: Gently massage into skin using circular motions, allowing for complete absorption.
- Wash hands thoroughly: Always wash hands after application to avoid accidentally touching eyes or mouth.
- Monitor response: Pay attention to how your skin responds and discontinue use if irritation occurs.
Usage Frequency Guidelines:
Most users apply their frankincense pain balm recipe preparations 1-3 times daily, though optimal frequency varies by individual. Start with once daily application to gauge your skin's response before increasing frequency. Some people prefer morning application for daytime comfort, while others find evening application supports their relaxation routines.
Storage and Shelf Life
Proper storage significantly impacts the longevity and quality of your DIY frankincense muscle balm. Without synthetic preservatives, natural balms have shorter shelf lives than commercial products but can remain stable with proper care.
Storage Best Practices:
- Cool, dark location: Store in temperatures below 75°F away from direct sunlight. Bathroom storage is often too humid.
- Airtight containers: Ensure lids are tightly sealed to prevent oxidation and contamination.
- Clean hands: Always use clean, dry hands or a small spatula when removing product from containers.
- Label clearly: Include preparation date and ingredients for safety tracking.
Expected Shelf Life:
When stored properly, your frankincense joint cream should maintain quality for 6-12 months. Signs of deterioration include:
- Changes in color or texture
- Rancid or off odors
- Mold growth (discard immediately)
- Separation of ingredients
Customization Options and Variations
Once comfortable with the basic frankincense pain balm recipe, you may wish to explore variations that suit your preferences or seasonal needs.
Seasonal Adaptations:
Summer Formula: Reduce beeswax slightly and increase liquid oils for easier application in warm weather. Consider adding bergamint or spearmint for cooling effects.
Winter Formula: Increase shea butter content for extra richness during cold, dry months. Warming oils like ginger or black pepper (in tiny amounts) may provide additional comfort.
Scent Modifications:
While maintaining the frankincense base, you can adjust supporting oils based on personal preferences:
- Floral blend: Add rose geranium or ylang-ylang for feminine appeal
- Woody blend: Incorporate cedarwood or sandalwood for deeper, grounding notes
- Citrus blend: Light touches of sweet orange or bergamot for uplifting qualities
Quality Assessment and Troubleshooting
Creating consistent, high-quality DIY frankincense muscle balm requires attention to detail and understanding common issues that may arise during preparation or storage.
Texture Troubleshooting:
Too soft/greasy: Increase beeswax content slightly in next batch. Current batch can be remelted and adjusted.
Too hard/difficult to apply: Add more liquid carrier oils. Coconut oil provides firmness while maintaining spreadability.
Grainy texture: Usually indicates uneven cooling or insufficient mixing. Remelt gently and stir thoroughly while cooling.
Quality Indicators:
A well-made frankincense joint cream should exhibit:
- Smooth, consistent texture without lumps or separation
- Pleasant, balanced aroma without harsh or overwhelming notes
- Easy application that absorbs within reasonable time
- Stable consistency that doesn't dramatically change with minor temperature fluctuations
Final Considerations and Professional Guidance
While creating DIY topical preparations can be rewarding and cost-effective, it's crucial to maintain realistic expectations and prioritize safety. This frankincense pain balm recipe represents traditional approaches to wellness rather than medical treatment.
Some research suggests that certain compounds in frankincense may have properties of interest to researchers, but translating laboratory findings to DIY applications requires caution. Individual responses to topical preparations vary greatly based on skin sensitivity, underlying conditions, and application methods.
For persistent discomfort or ongoing concerns, always consult qualified healthcare providers who can offer personalized guidance based on your specific situation. DIY balms should complement, never replace, appropriate medical care when needed.
The ritual of creating and applying aromatic balms has brought comfort to countless individuals throughout history. Whether you find benefit in the preparation process itself, the aromatic experience, or the simple act of self-care, crafting your own frankincense-based balm connects you to ancient traditions while allowing modern customization.
Remember that quality ingredients, proper safety precautions, and realistic expectations contribute to the most satisfying DIY wellness experiences. Take time to enjoy the process, document what works best for your preferences, and always prioritize safety in your natural wellness journey.